Buzz about My Brioche Baking Experience

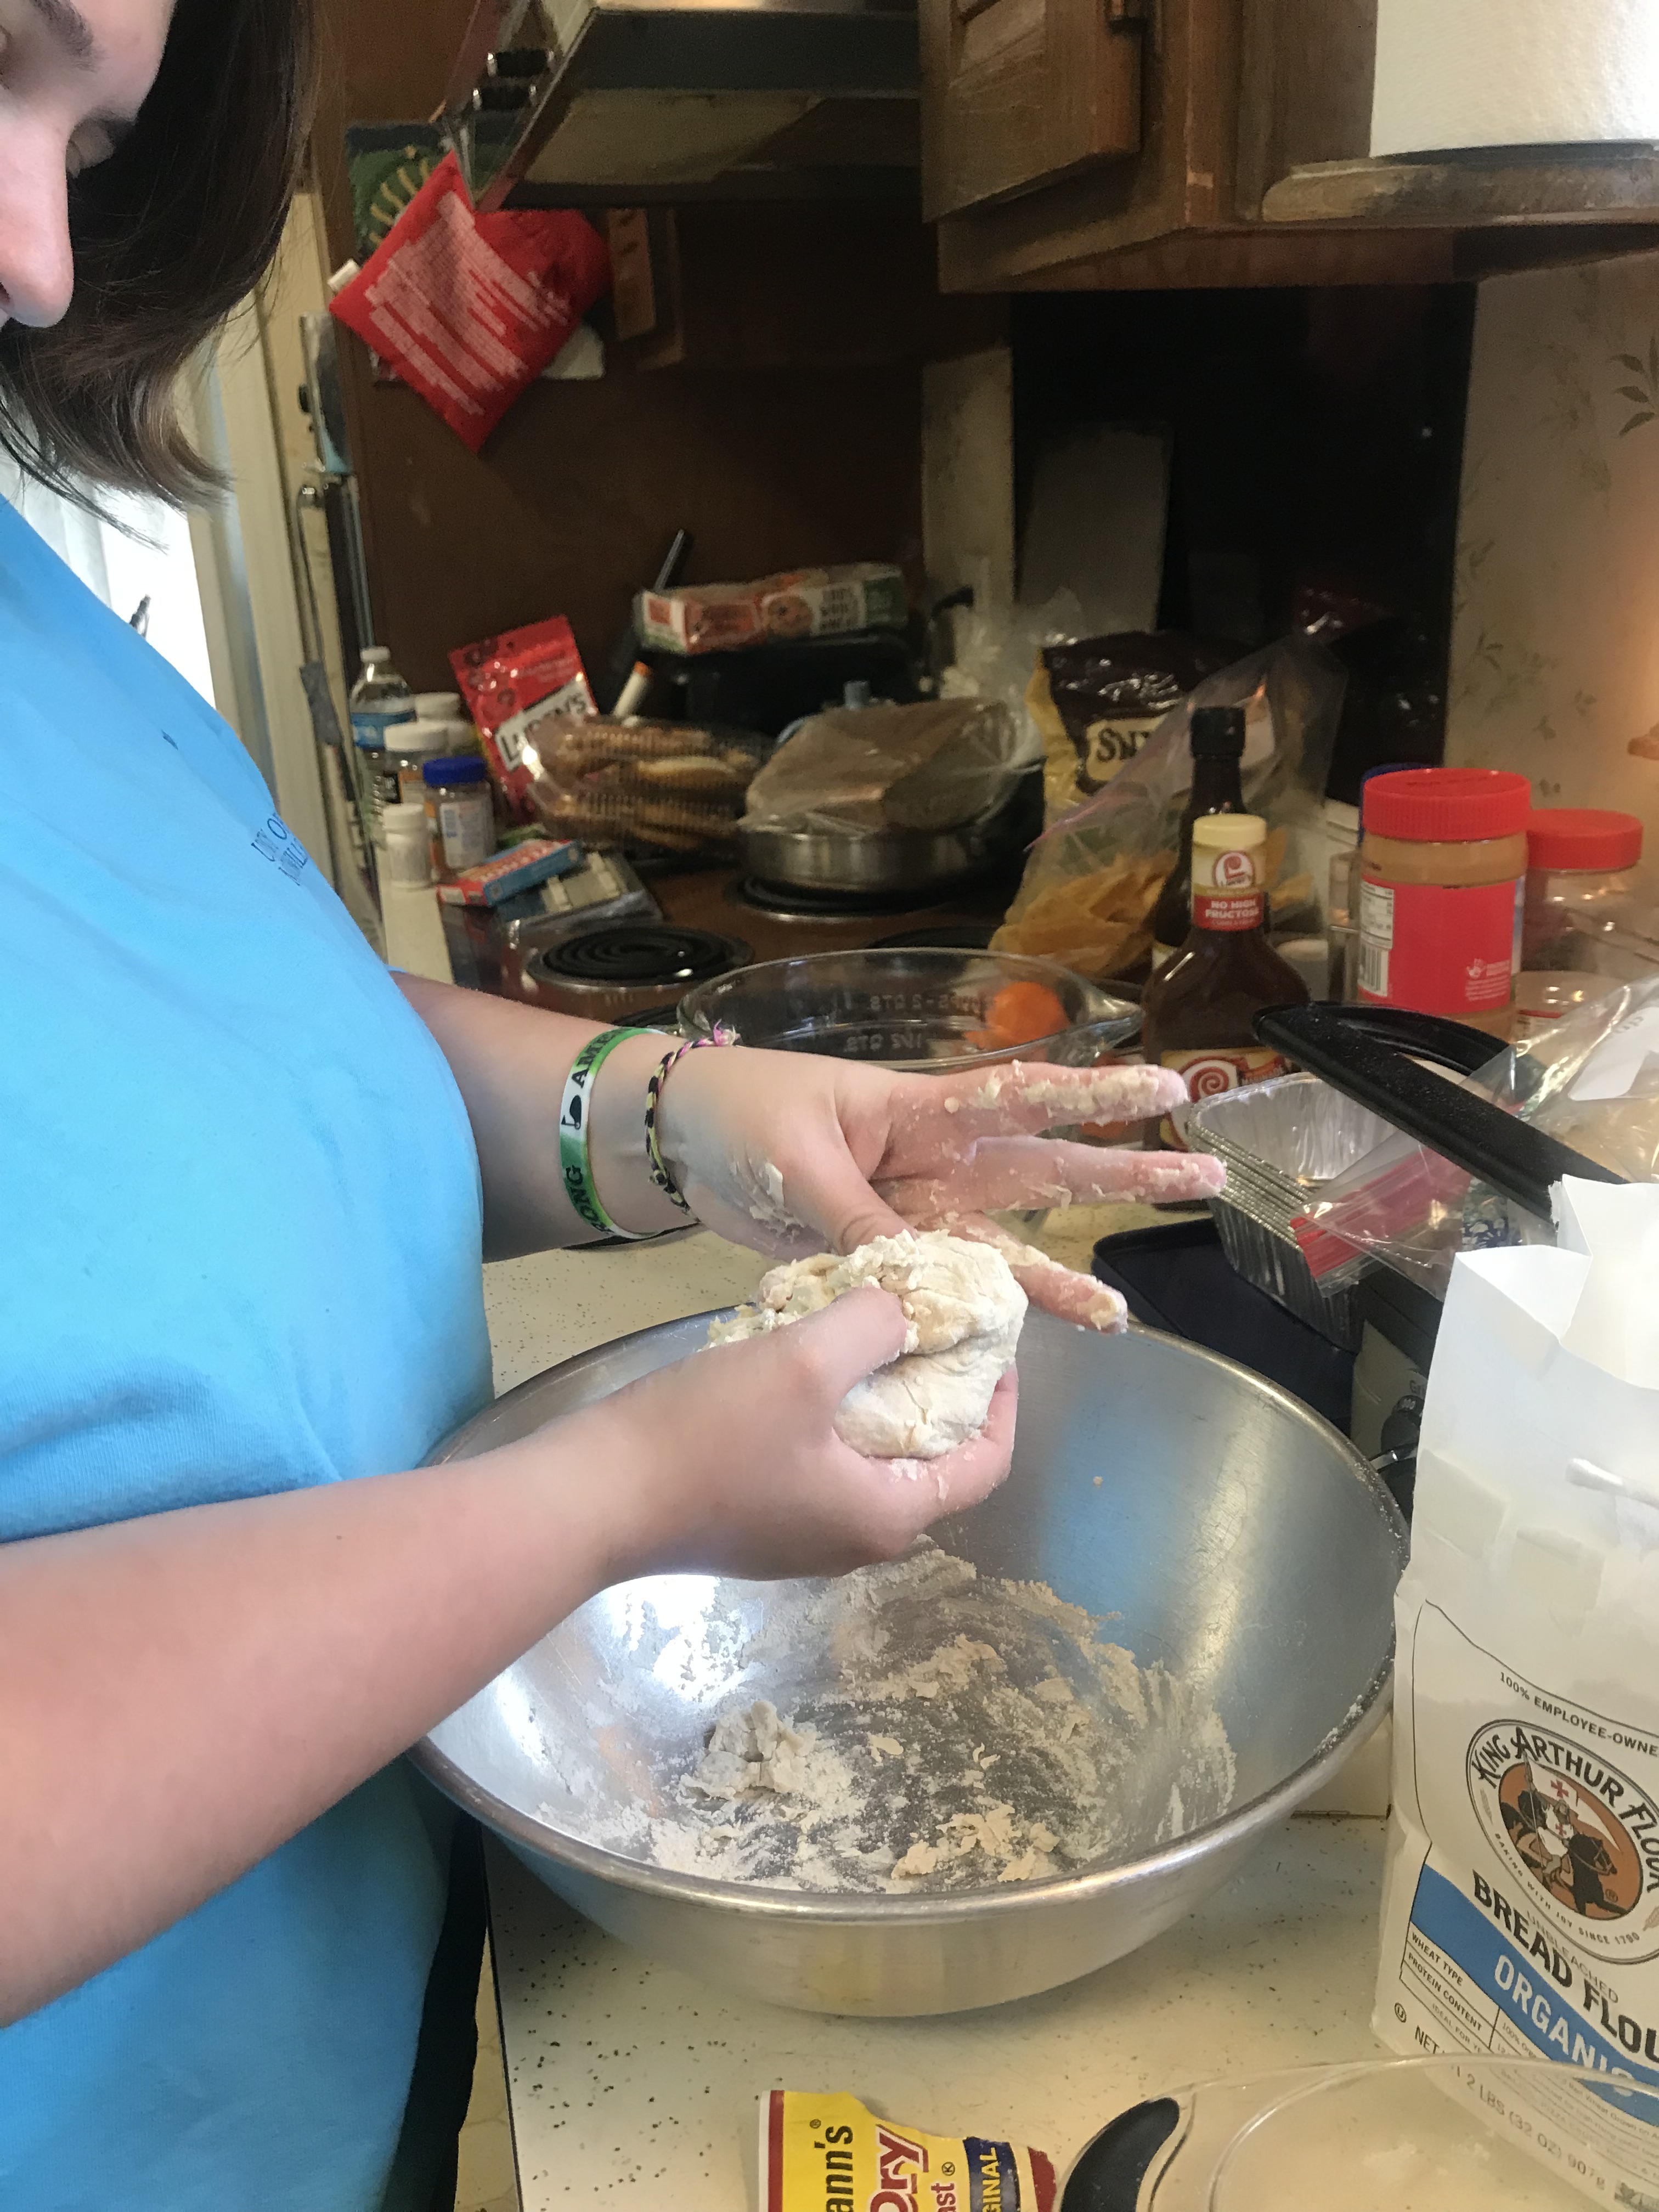
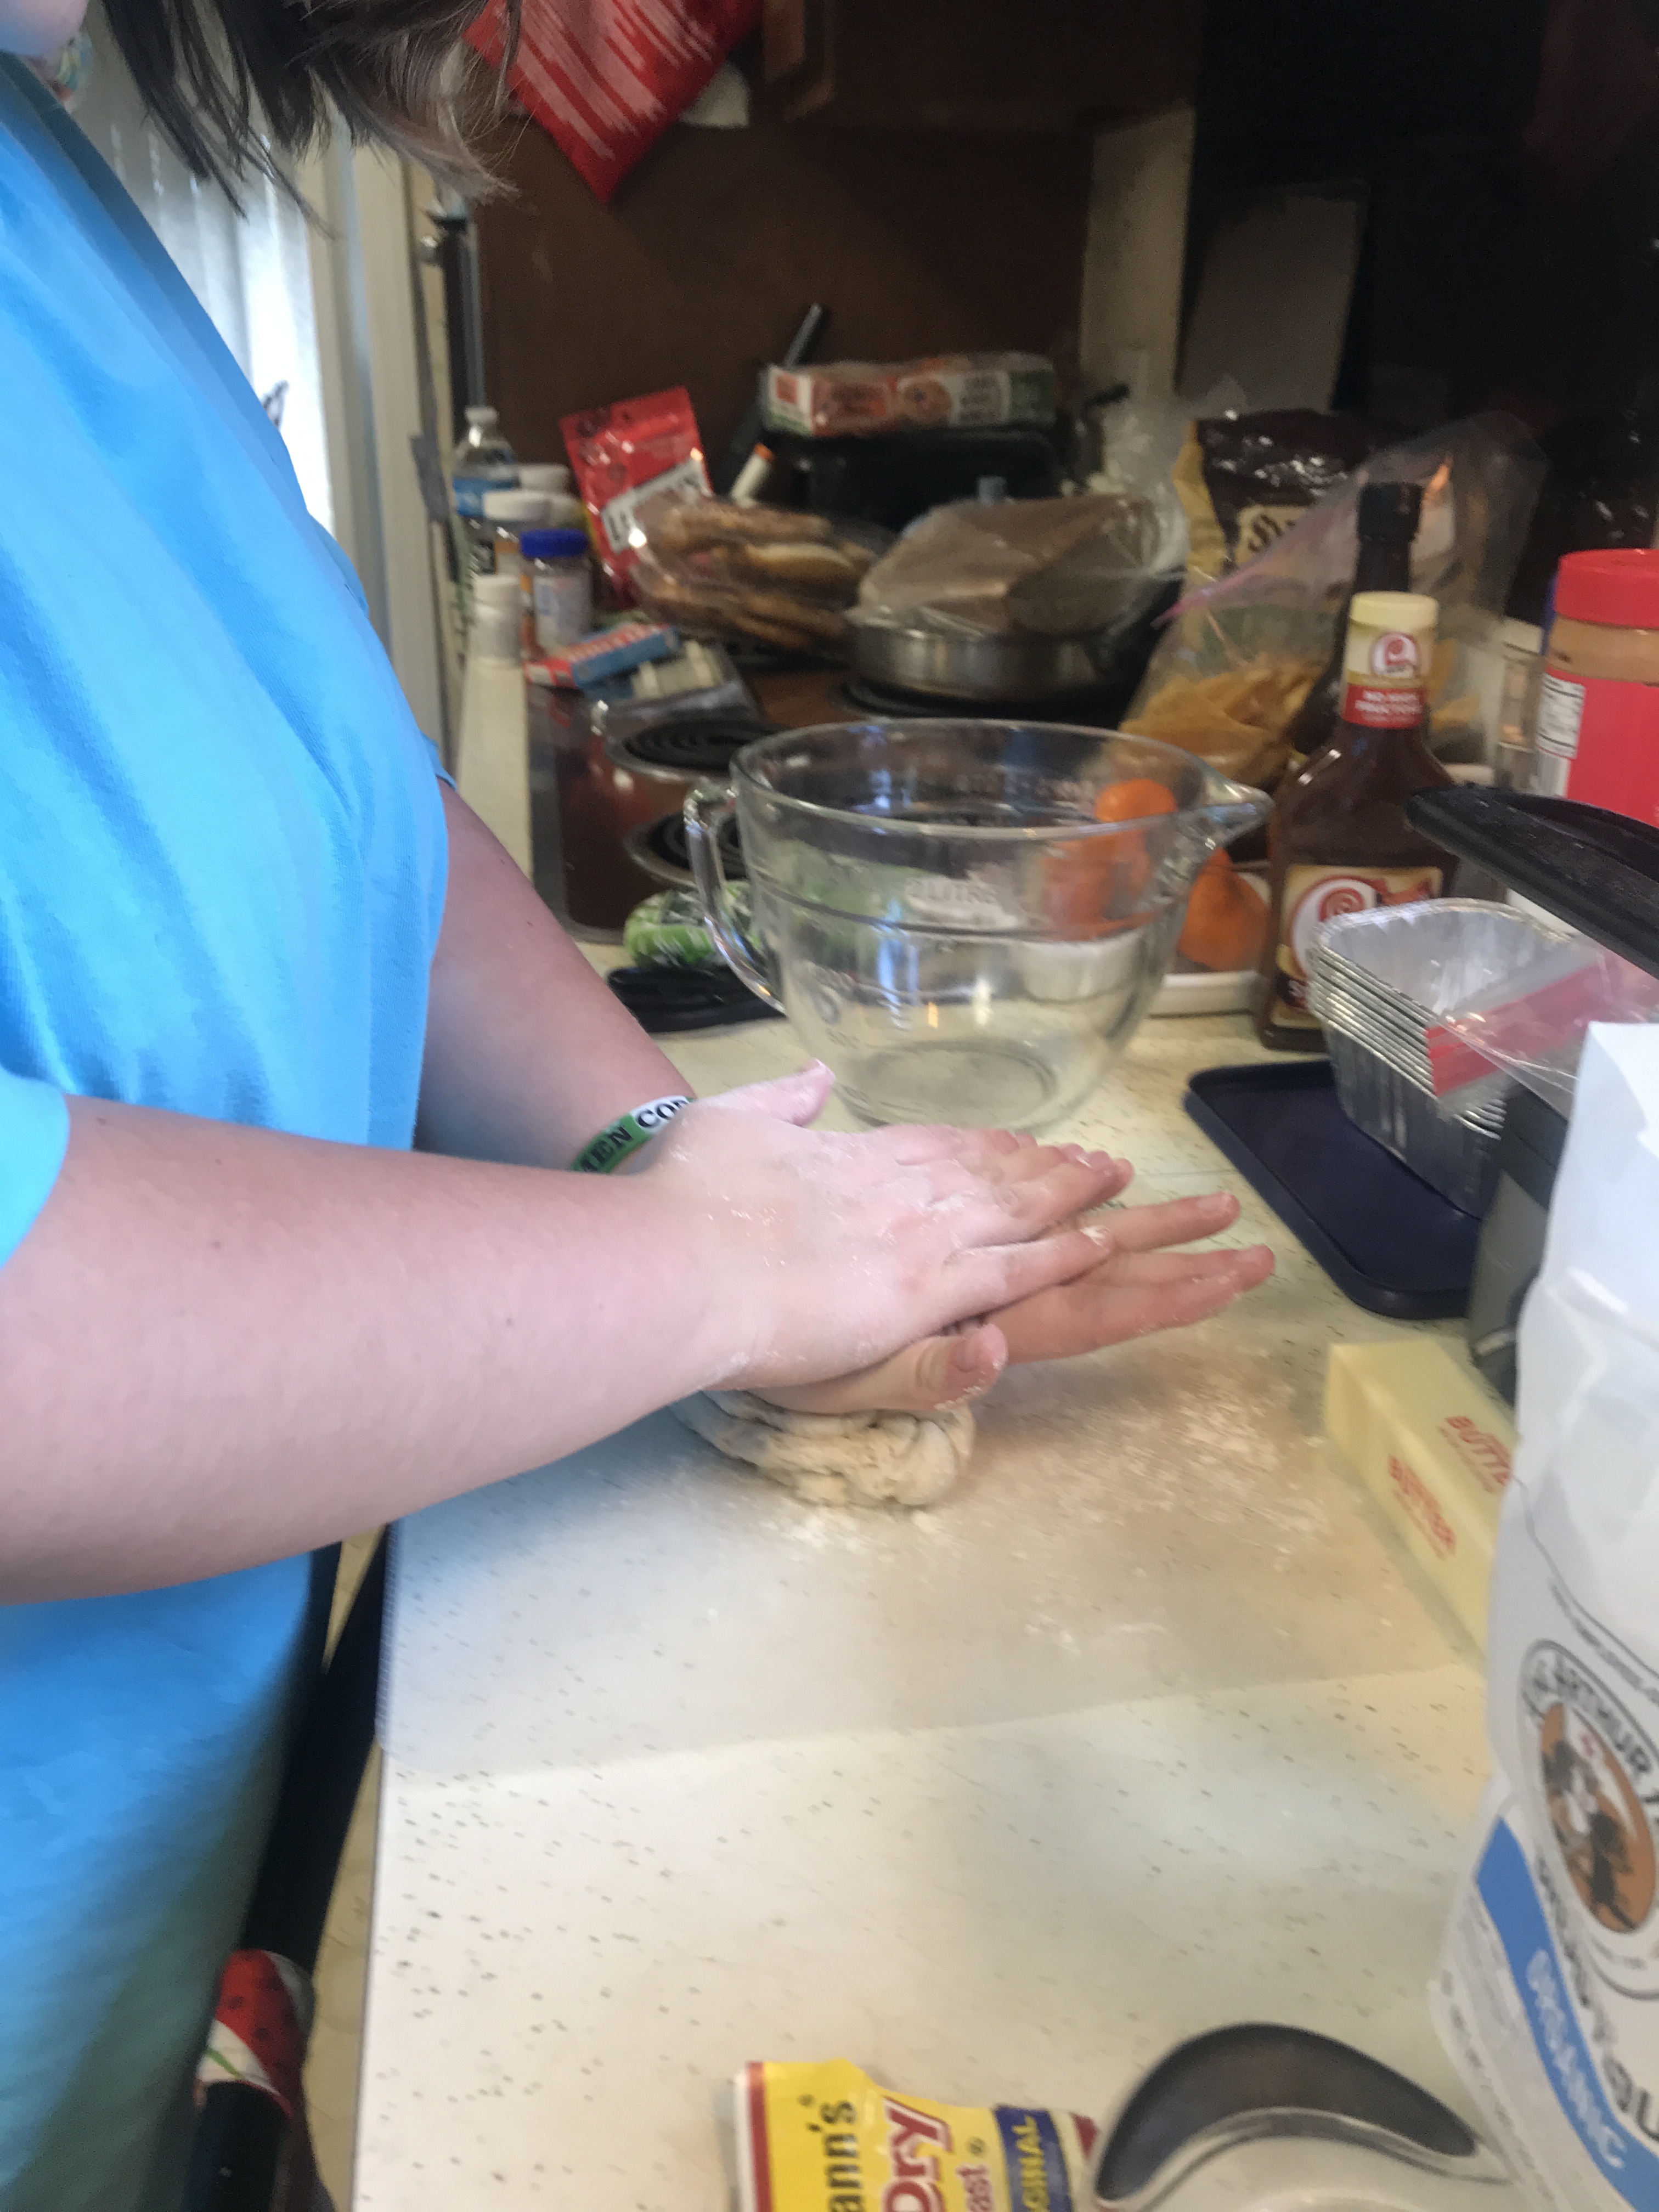
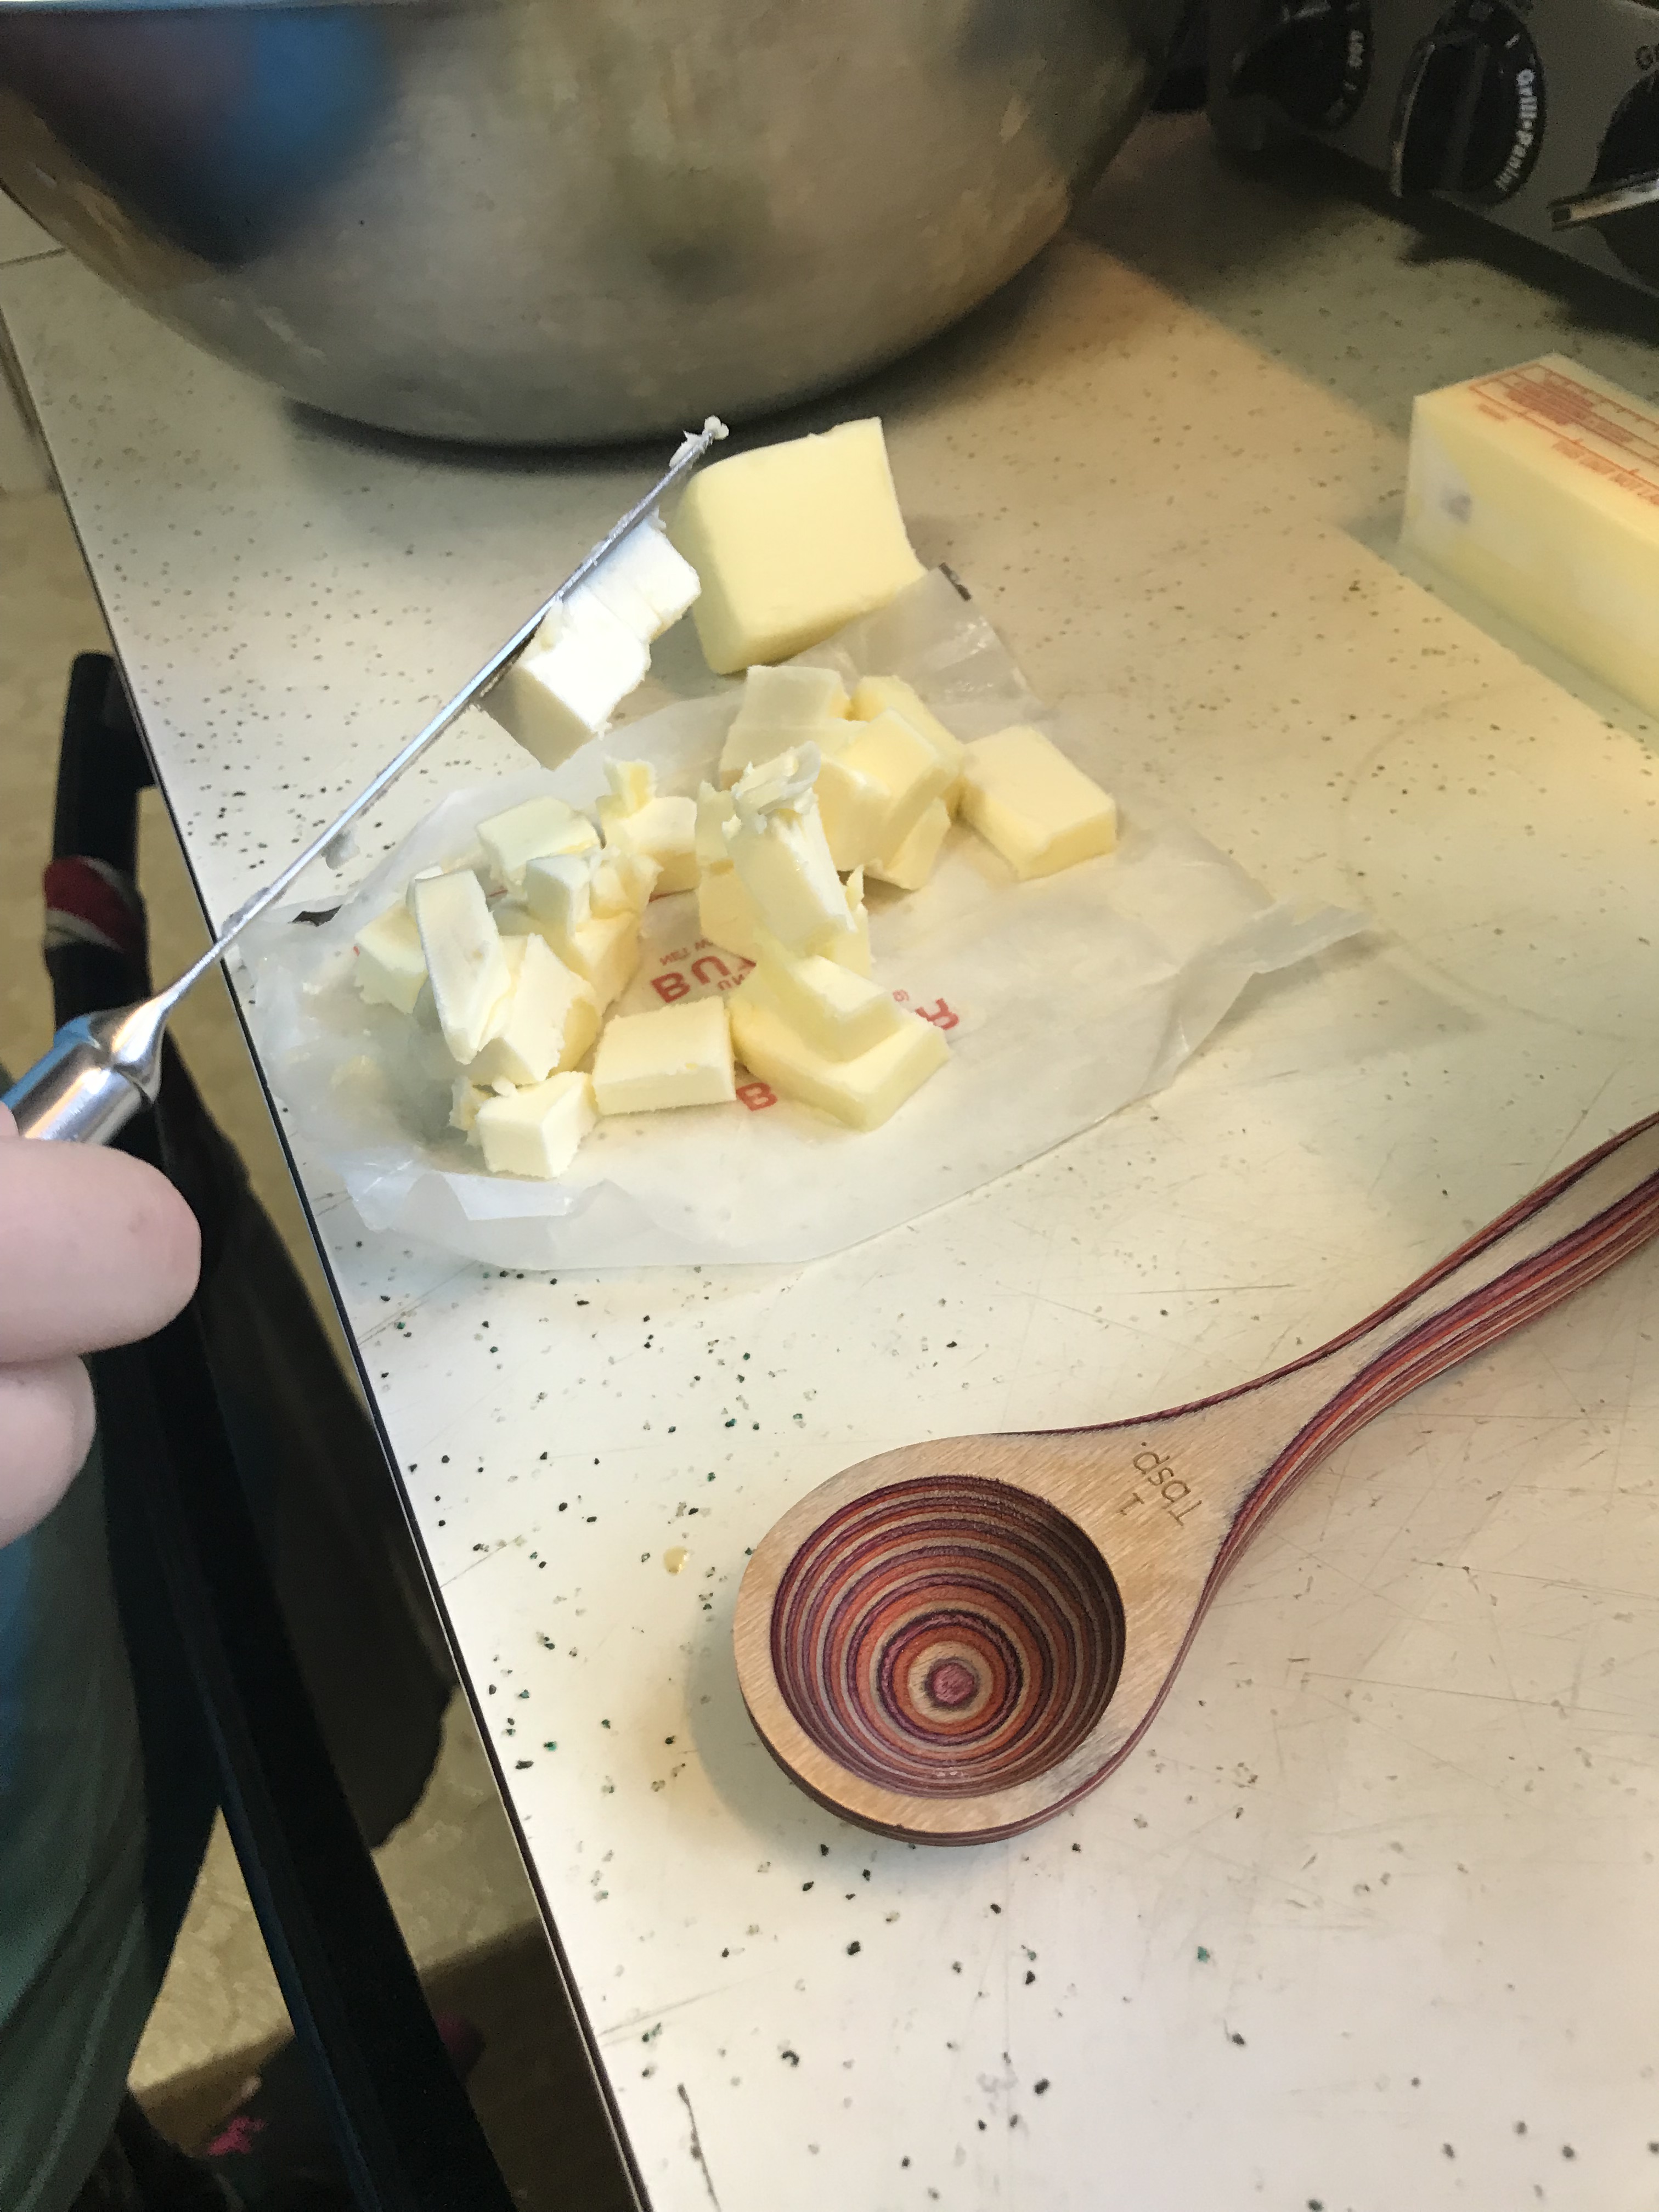
This past weekend my mom and I took on the task of making brioches to relieve some of the stress of lesson planning… and let me just say kneading dough is a great stress reliever! I got the recipe from the cookbook “Science in the Kitchen and the Art of Eating Well” by Pellegrino Artusi, and it was recipe number 575. This recipe called for 300 grams (about 10-1/2 ounces) of Hungarian flour, 150 grams (about 5-1/4 ounces) of butter, 30 grams (about 1 ounce) of brewers yeast, 20 grams (about 2/3 of an ounce) of sugar, 5 grams (about 1/5 of an ounce) of salt, and 6 eggs. It also calls for confectioners sugar later on in the recipe, but it was not in the list of ingredients so sadly that part was left out of my baking experience.

First you mix together the yeast in warm water and mix in a quarter of the flour
Make sure to mix until well combined
Once it’s mixed together, you then knead it until it’s the “right consistency”
You then cut a cross in the top and place it in a small baking pan with a “film of flour” and set it aside to rise in a warm place (until it’s nearly double in size)

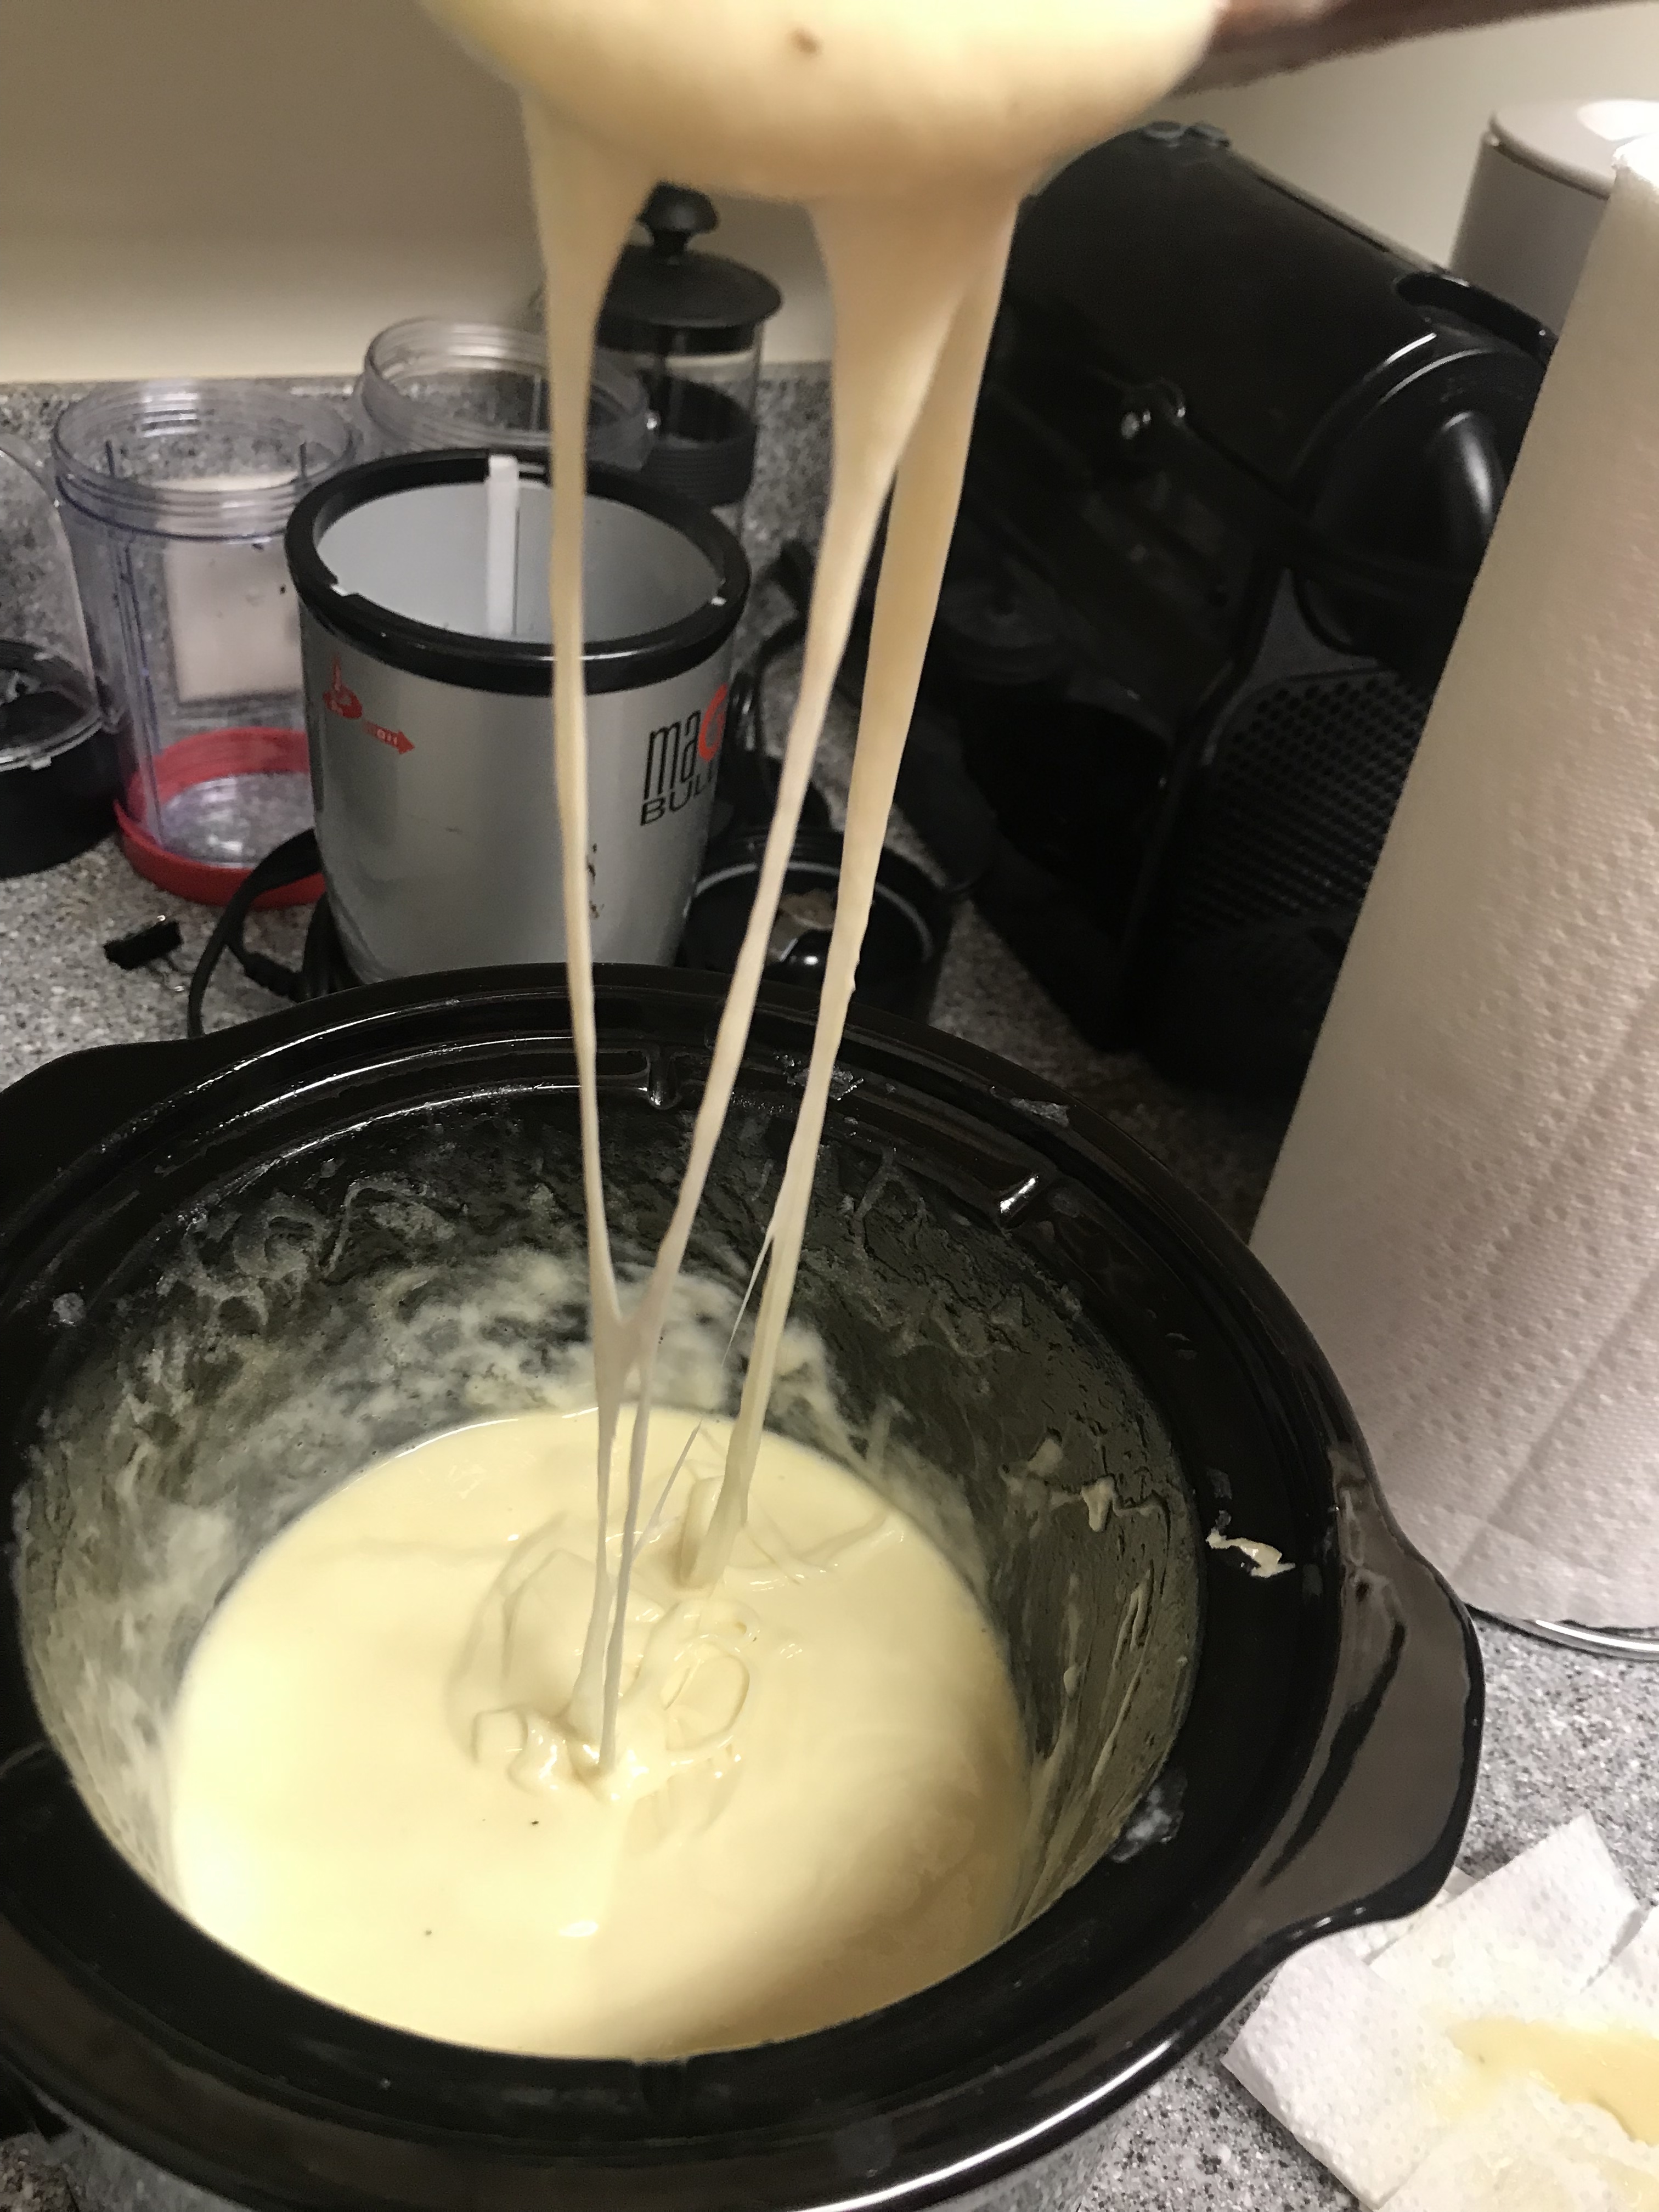
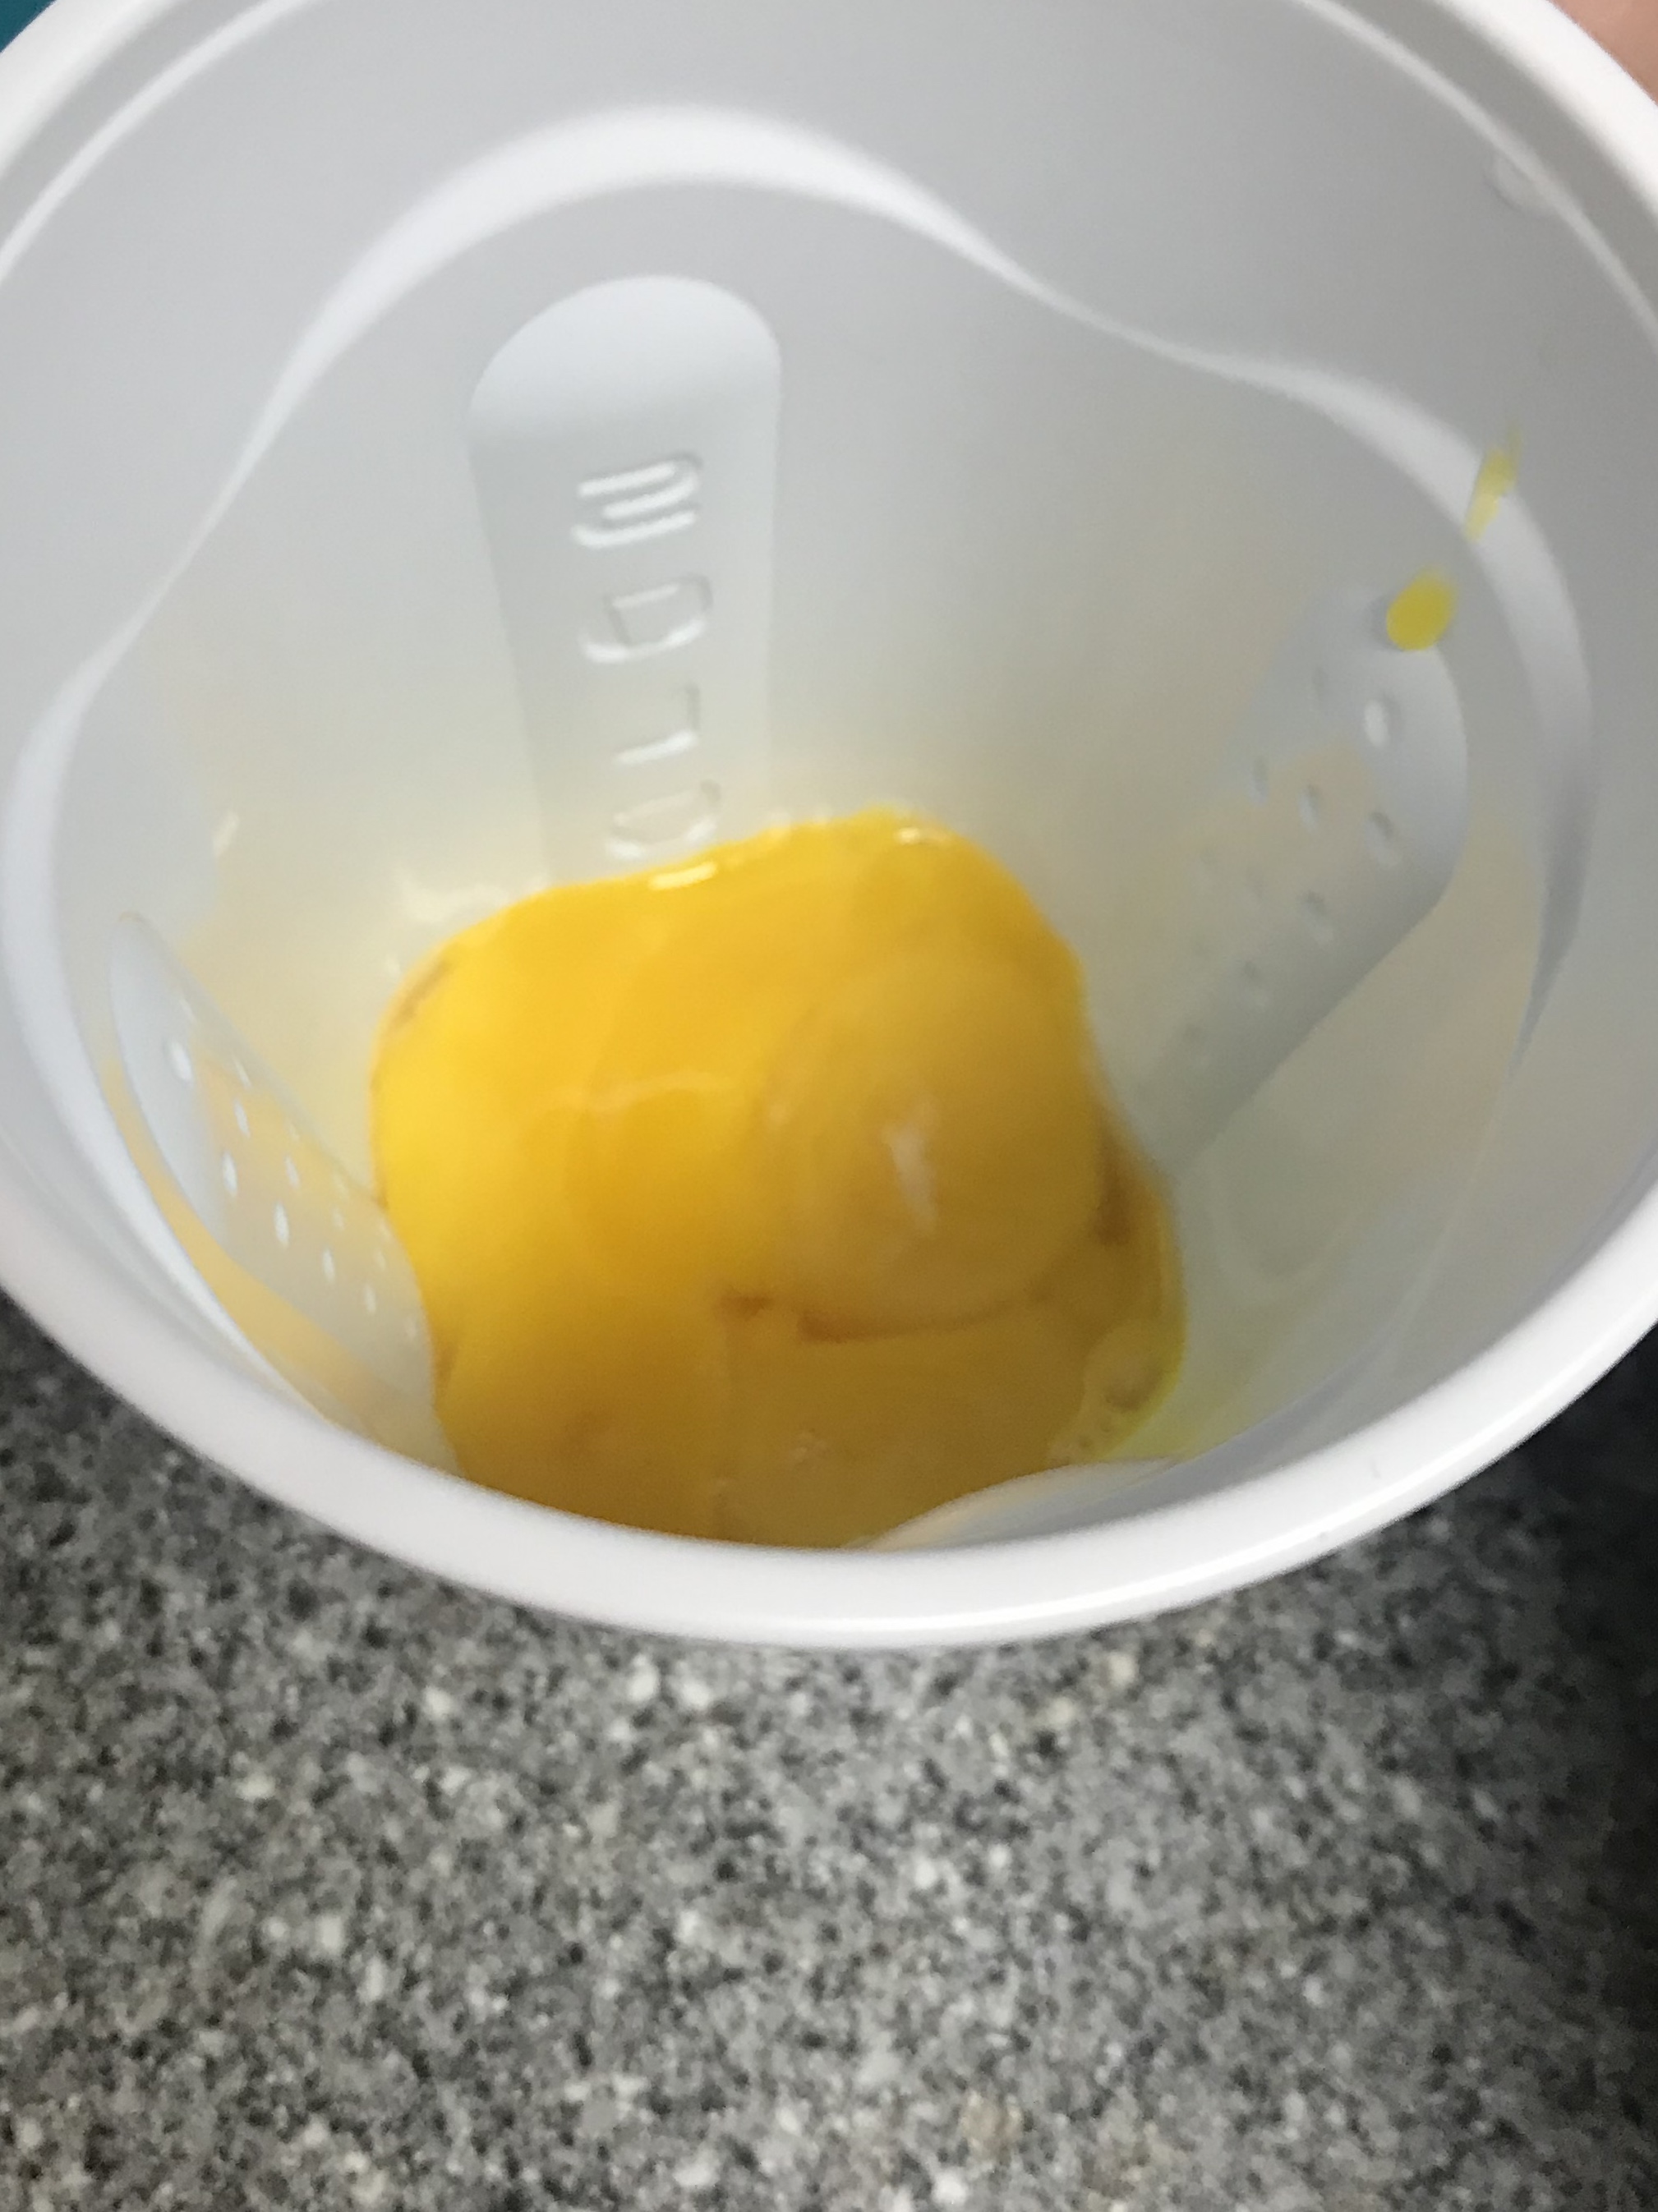
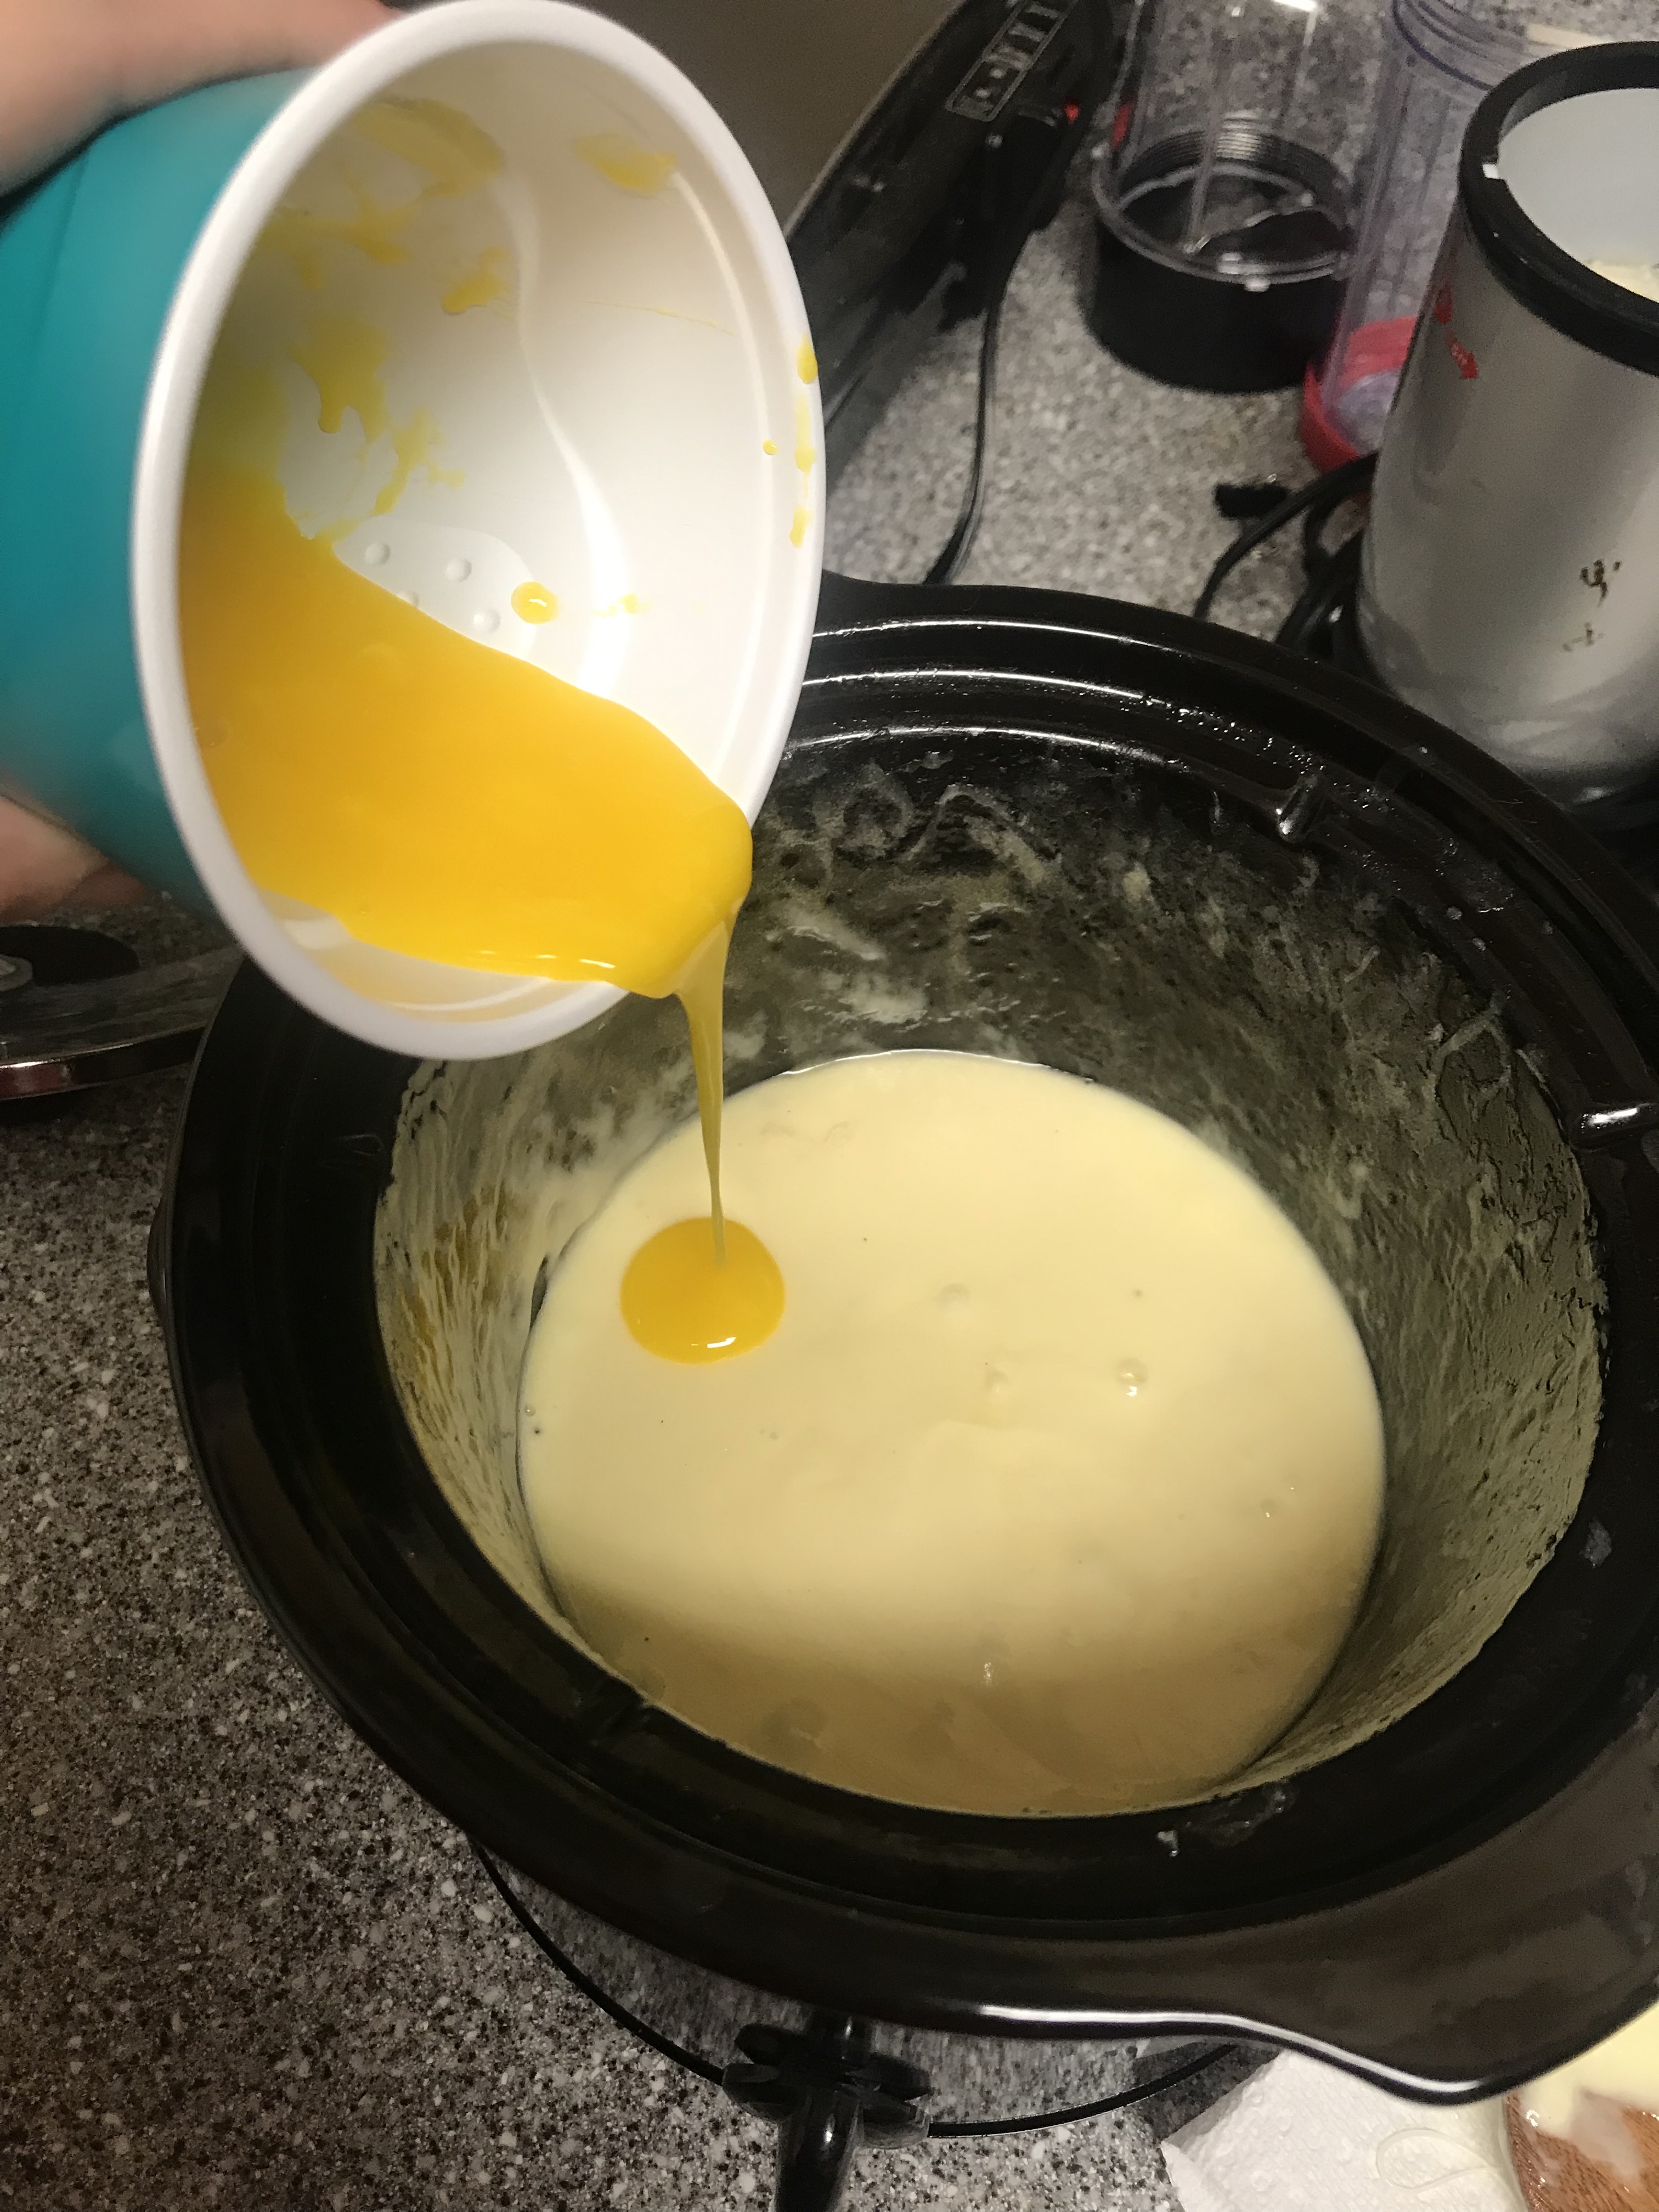
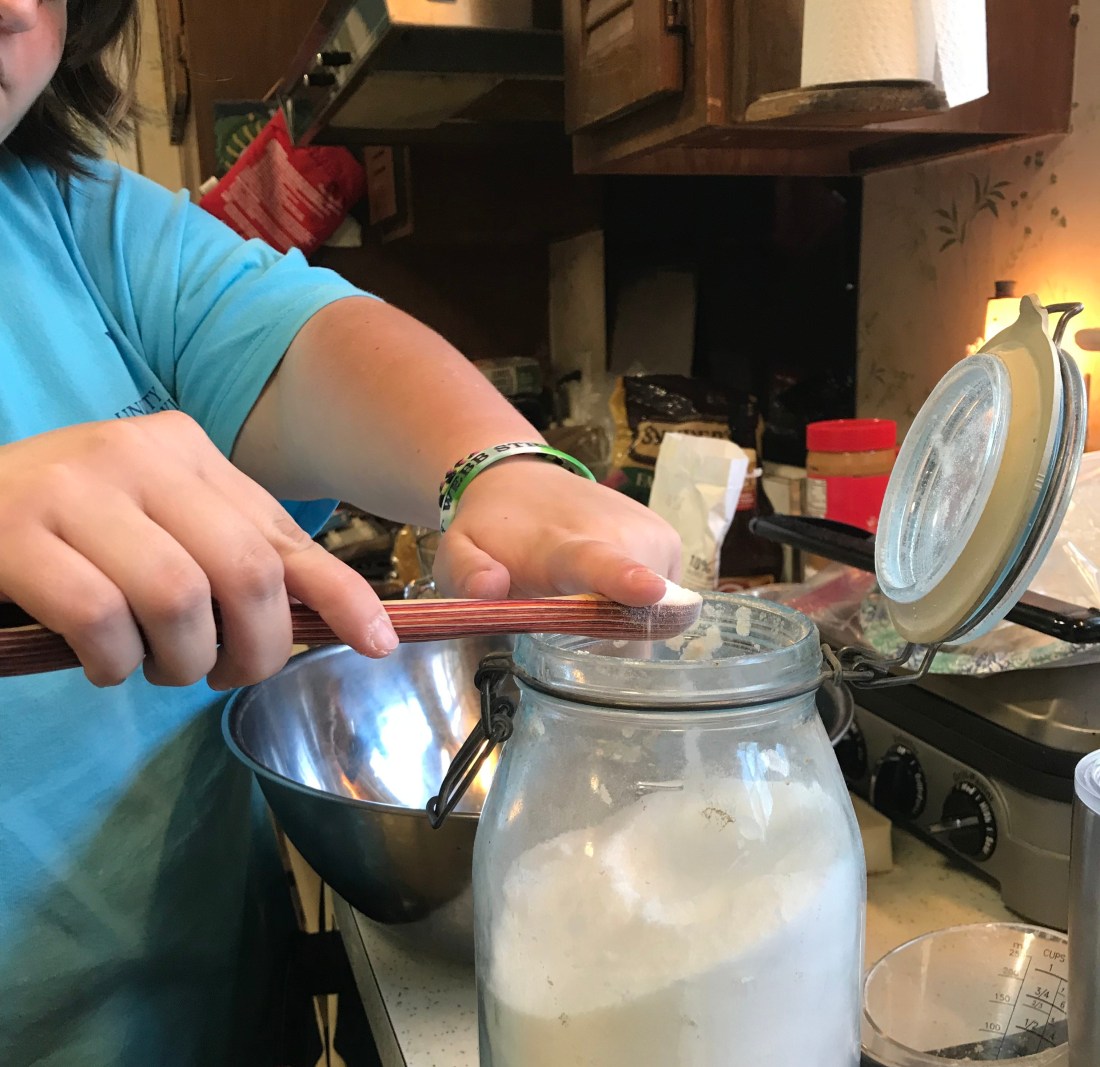
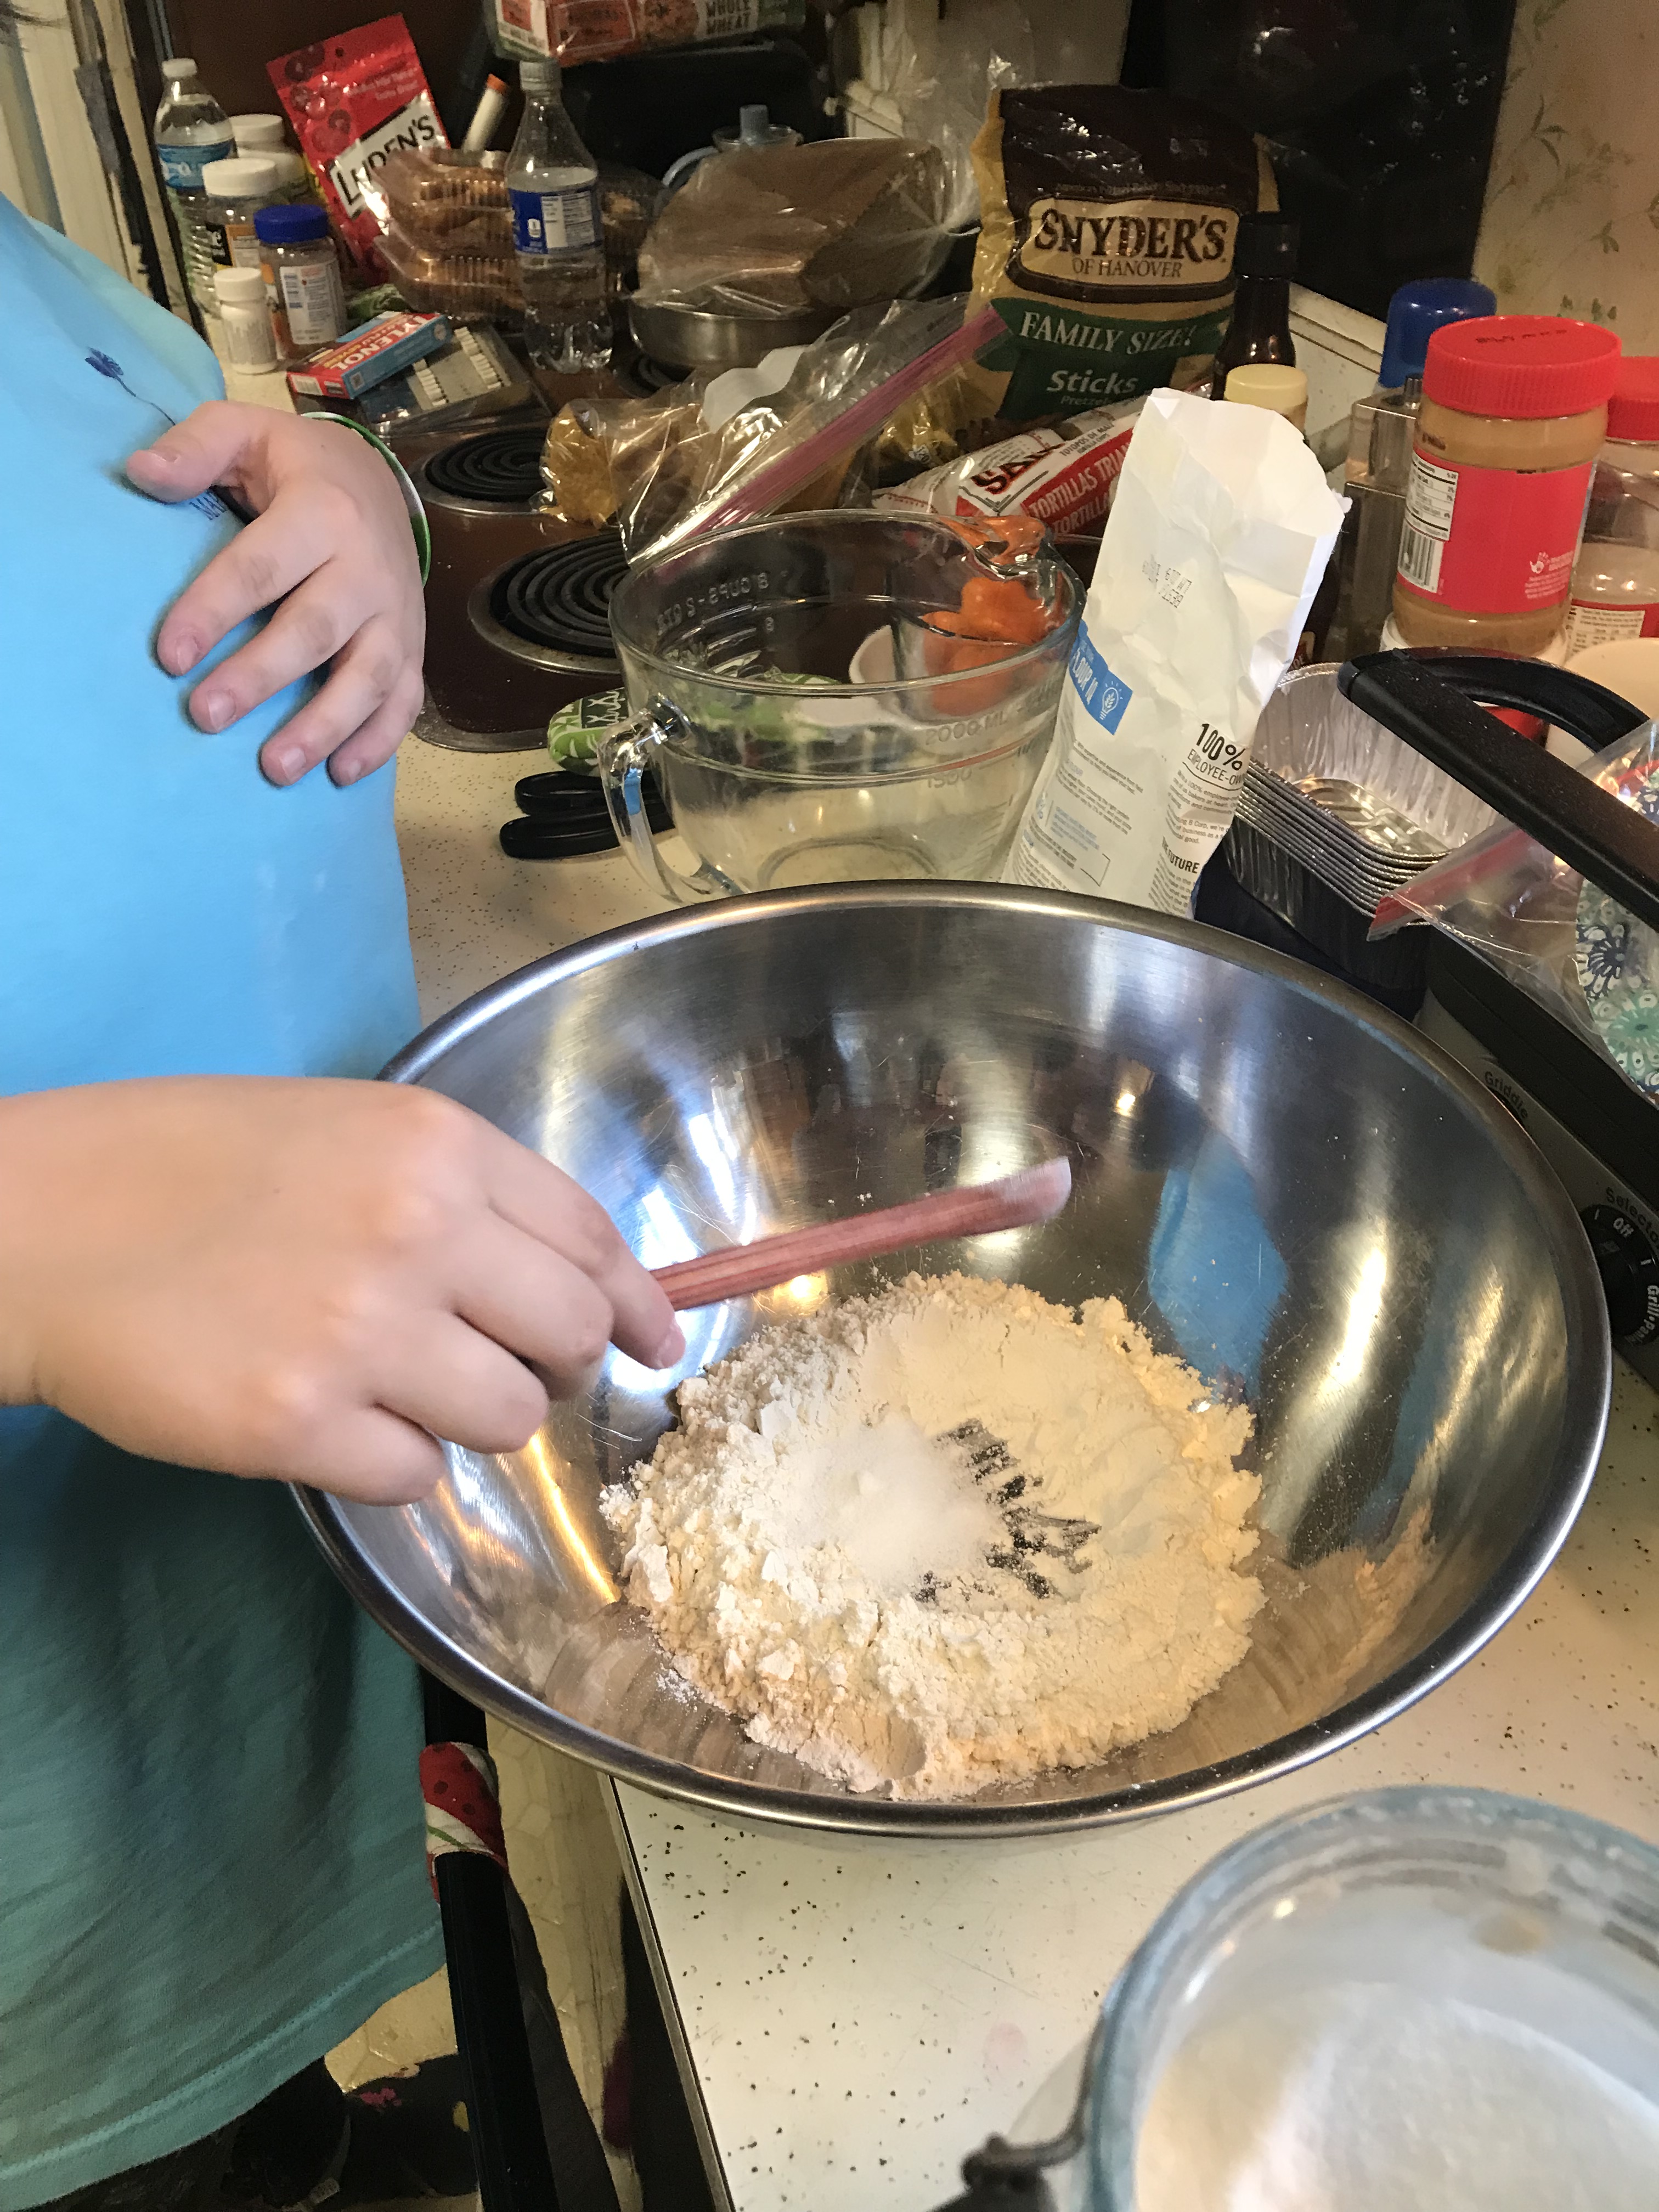
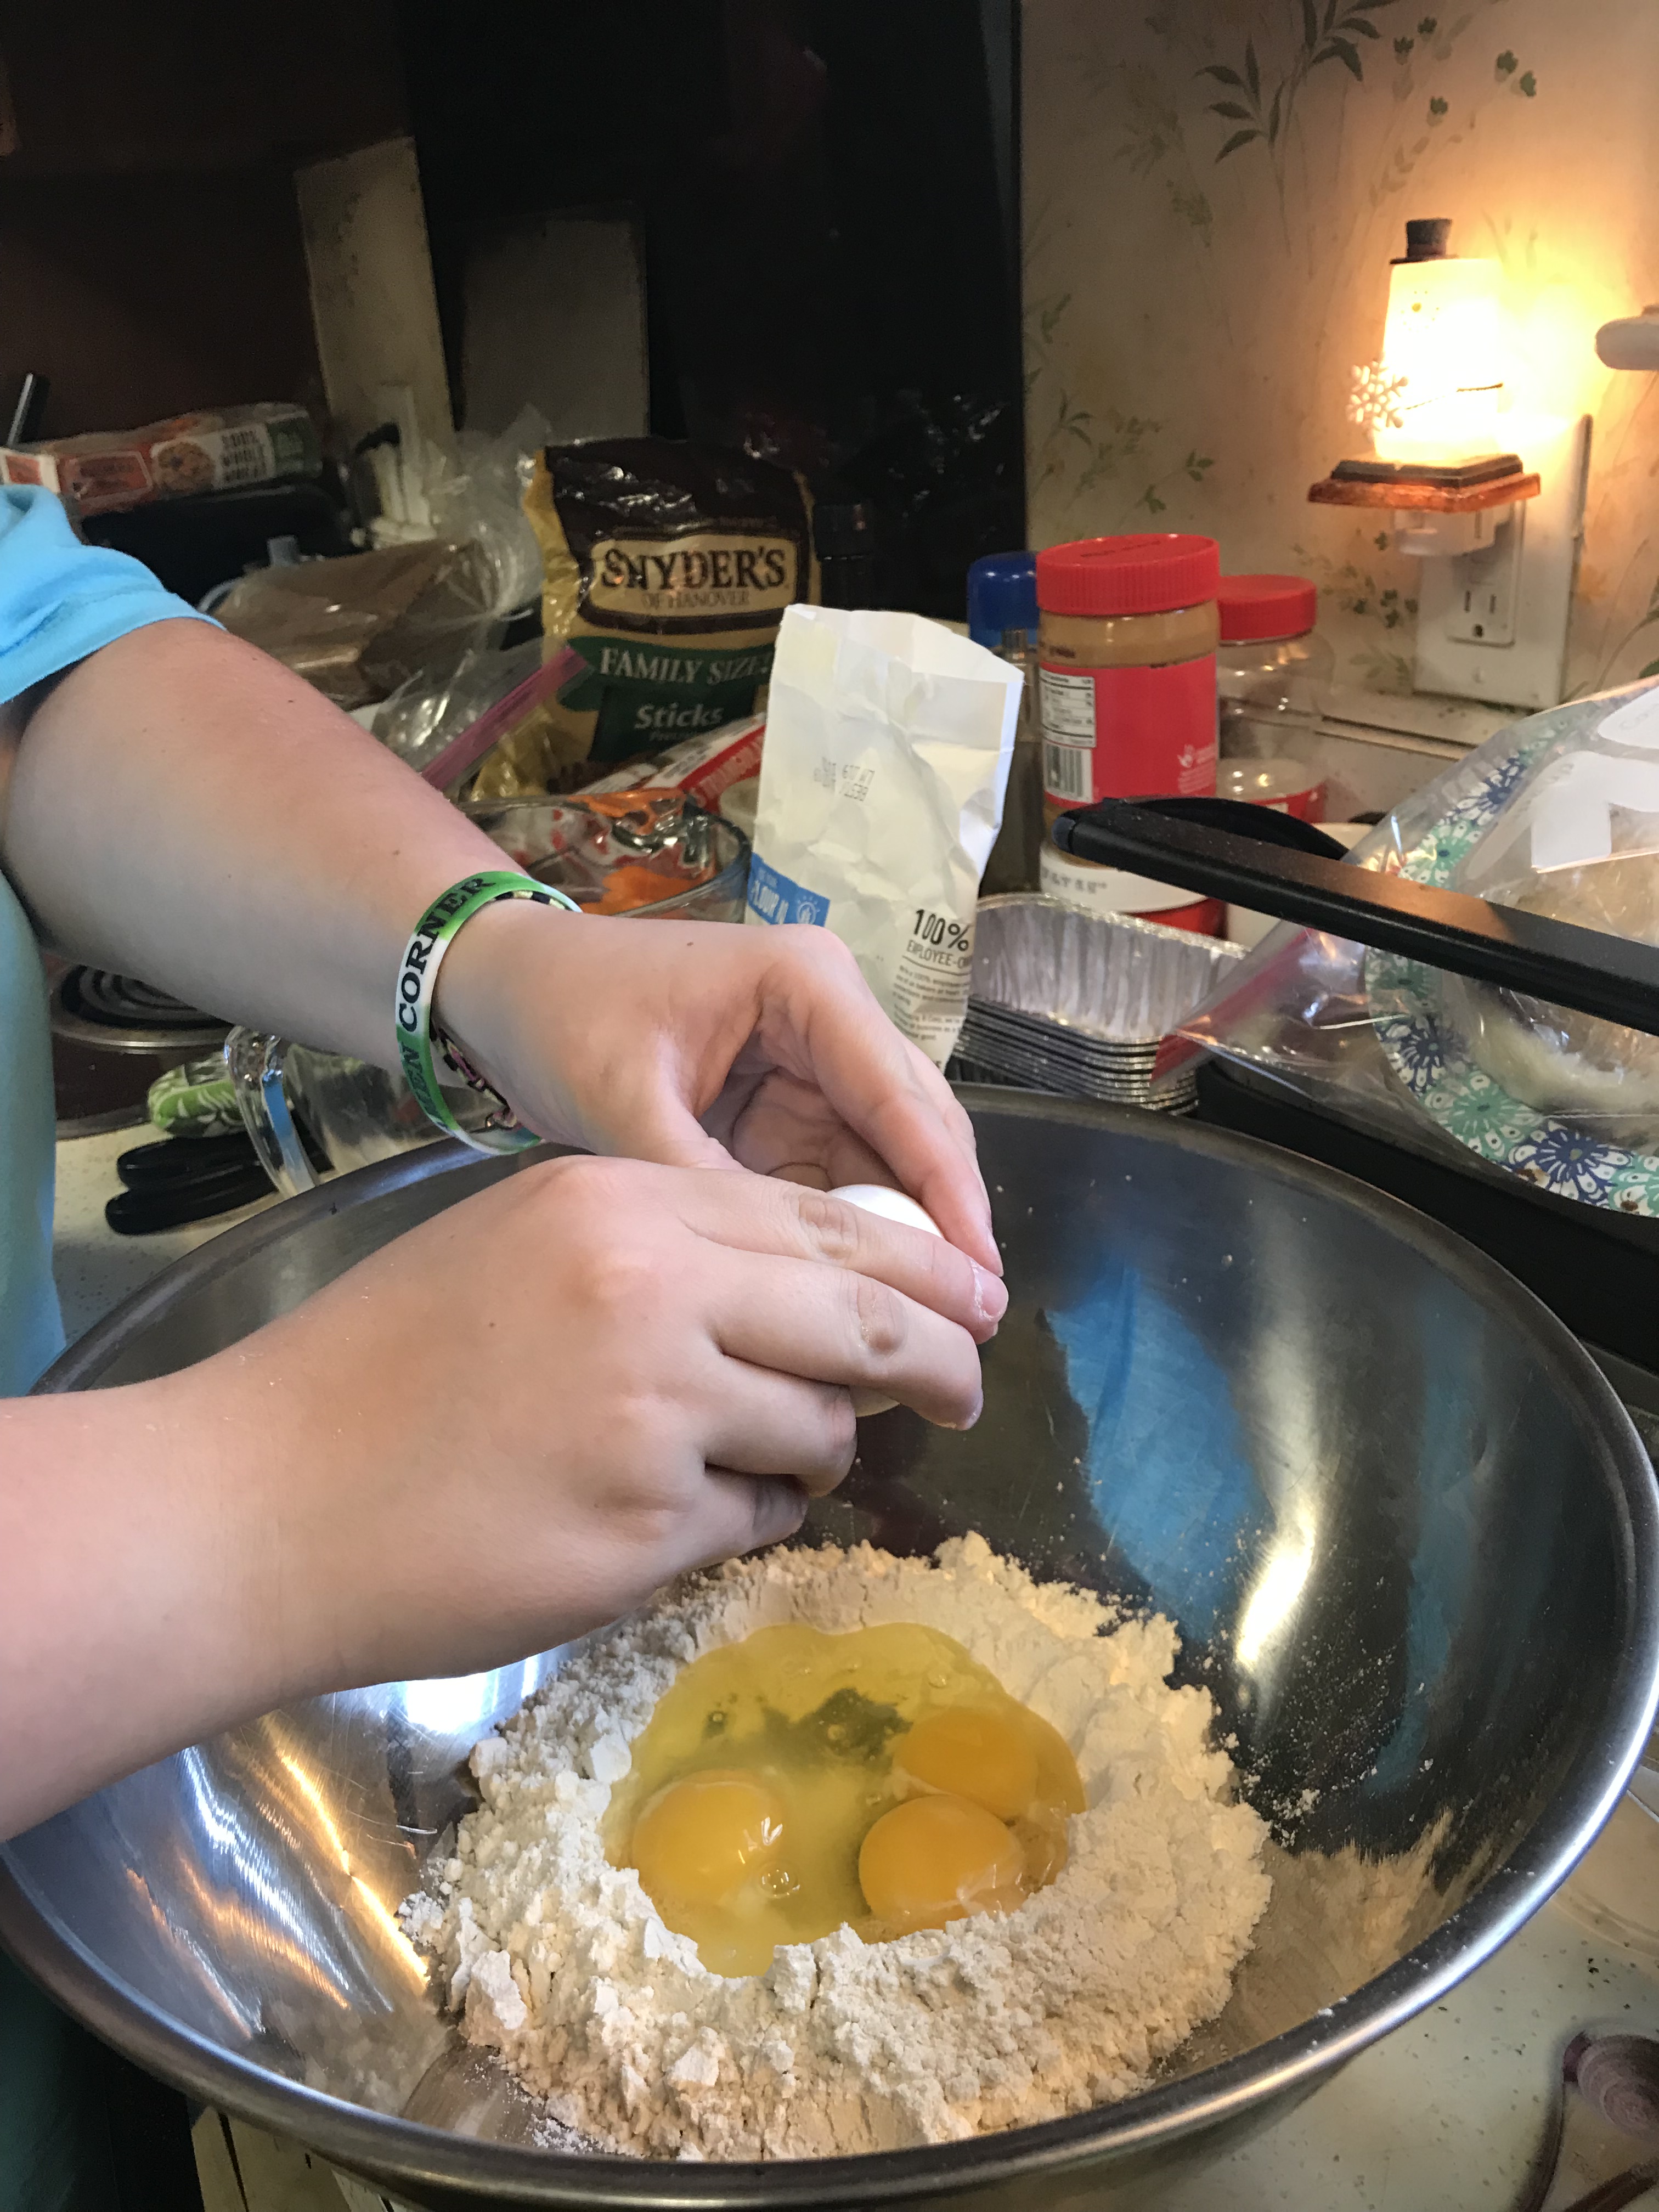
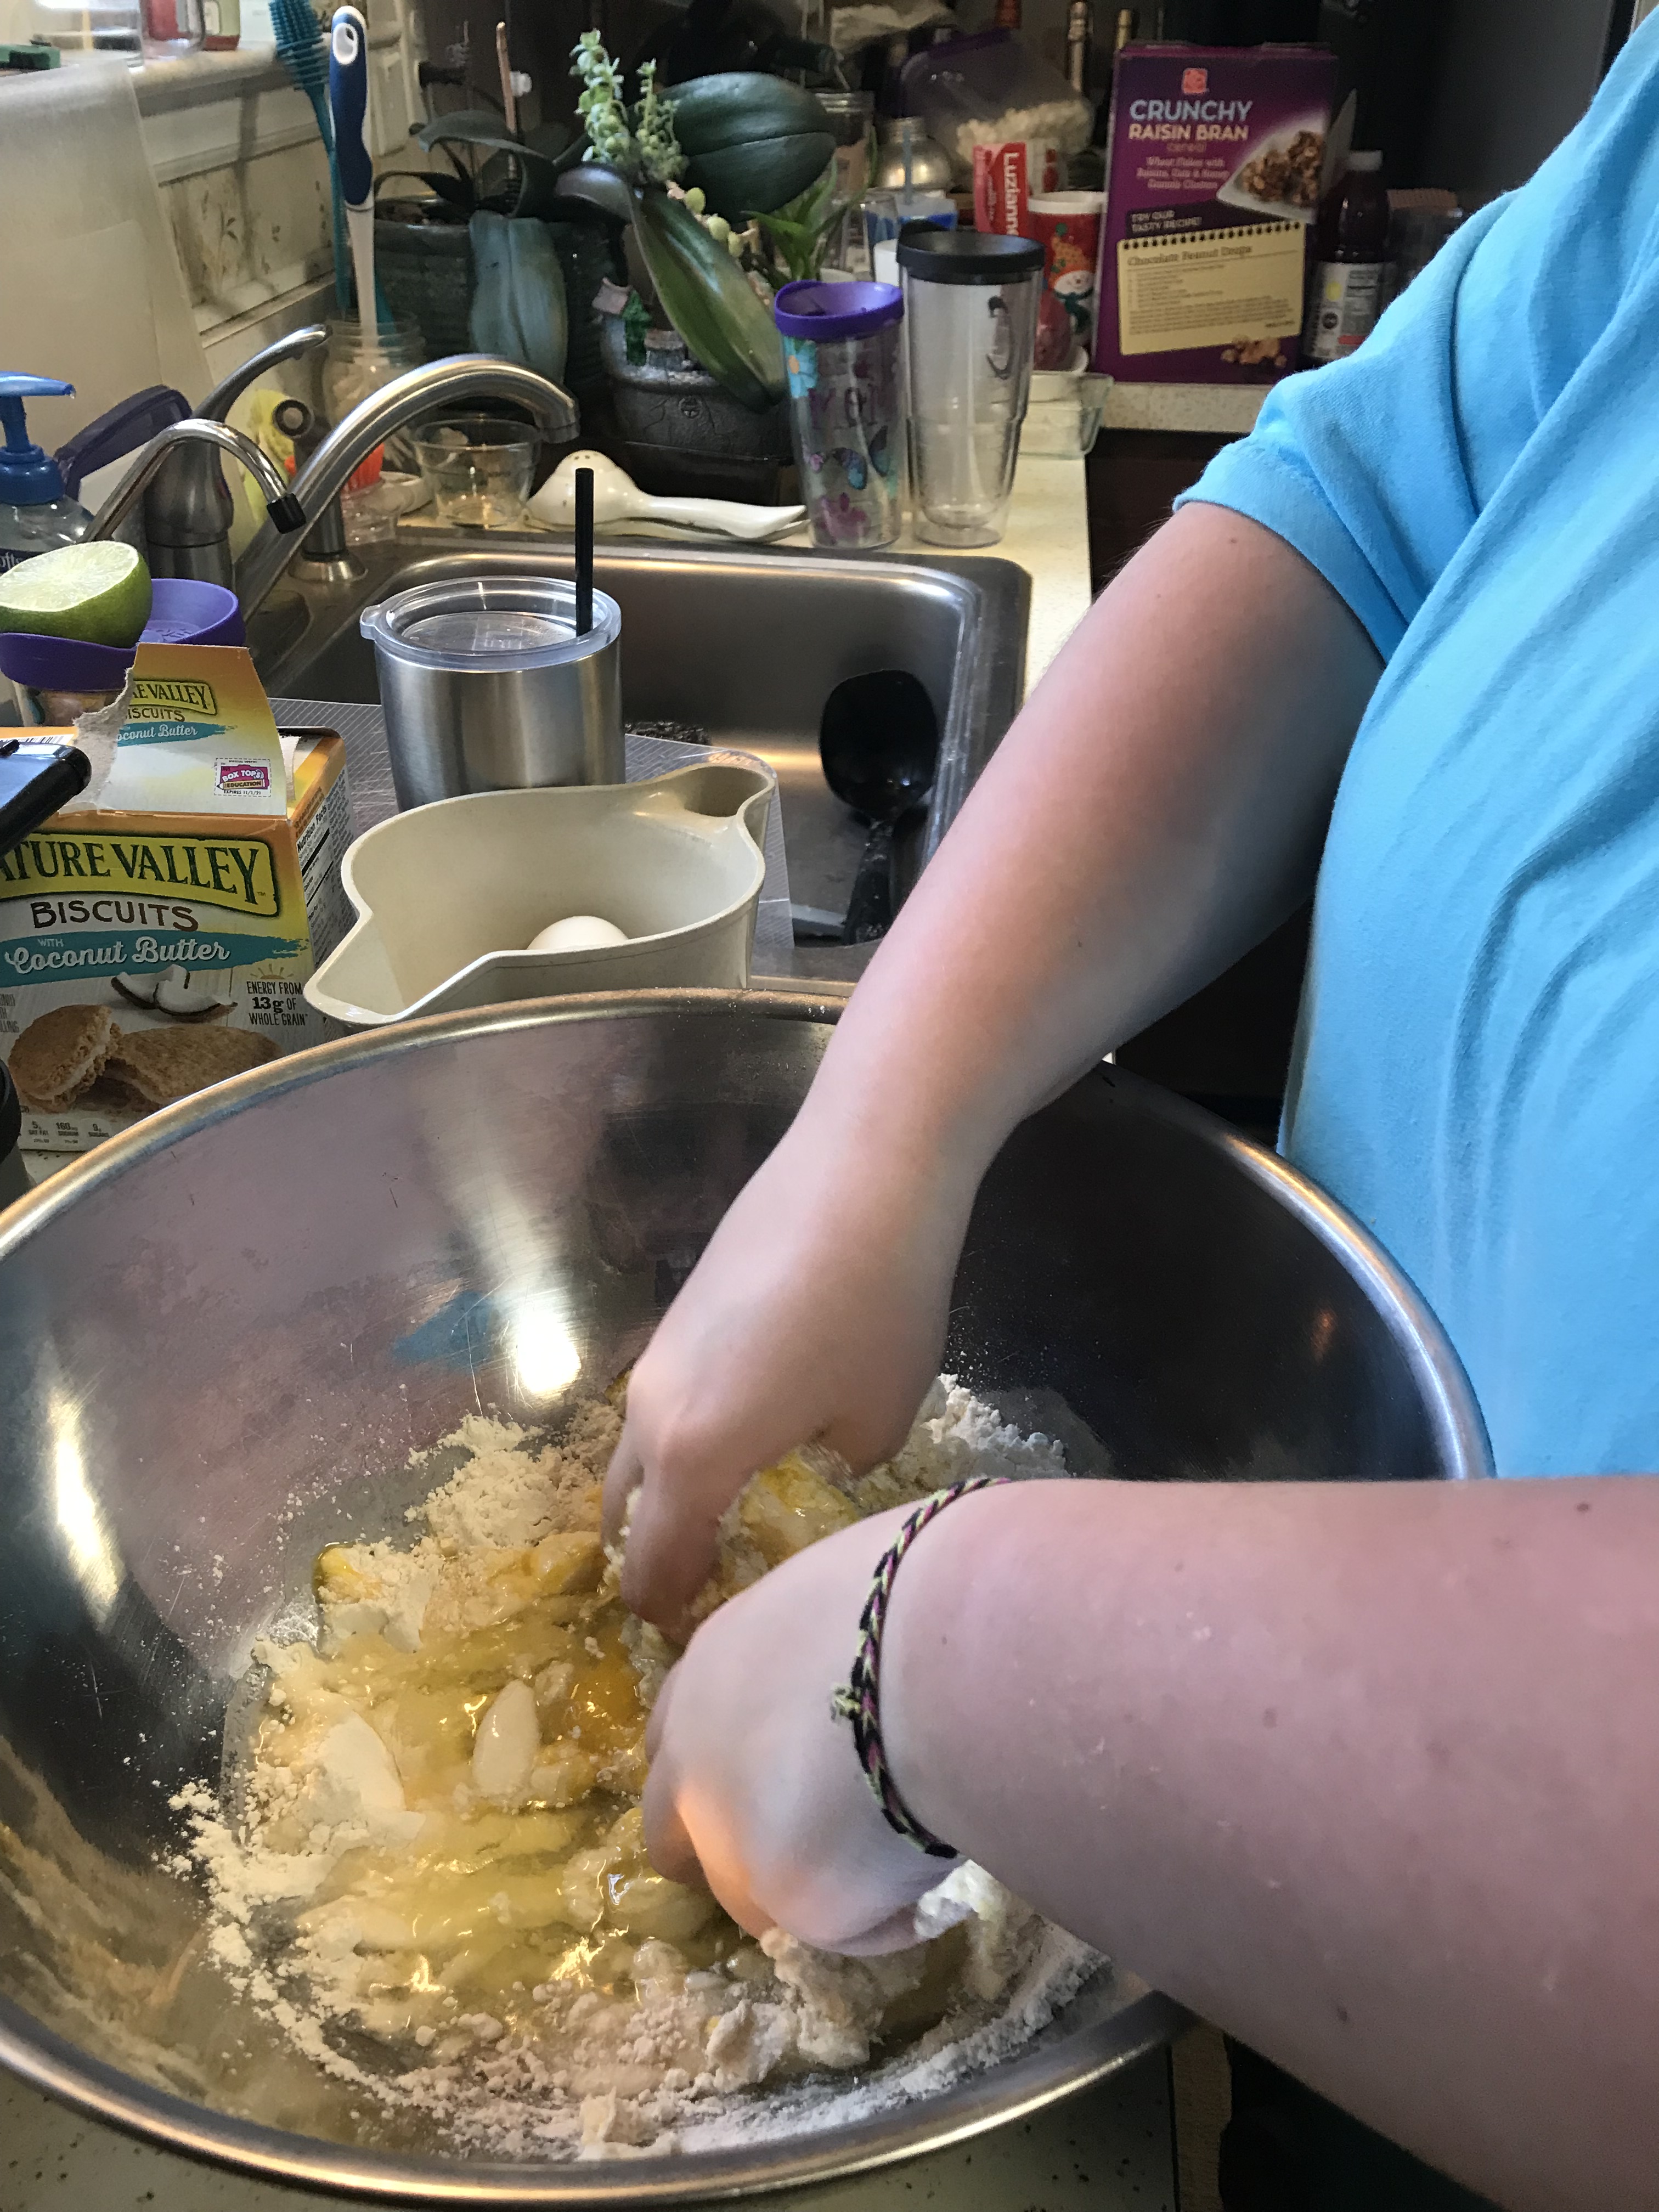
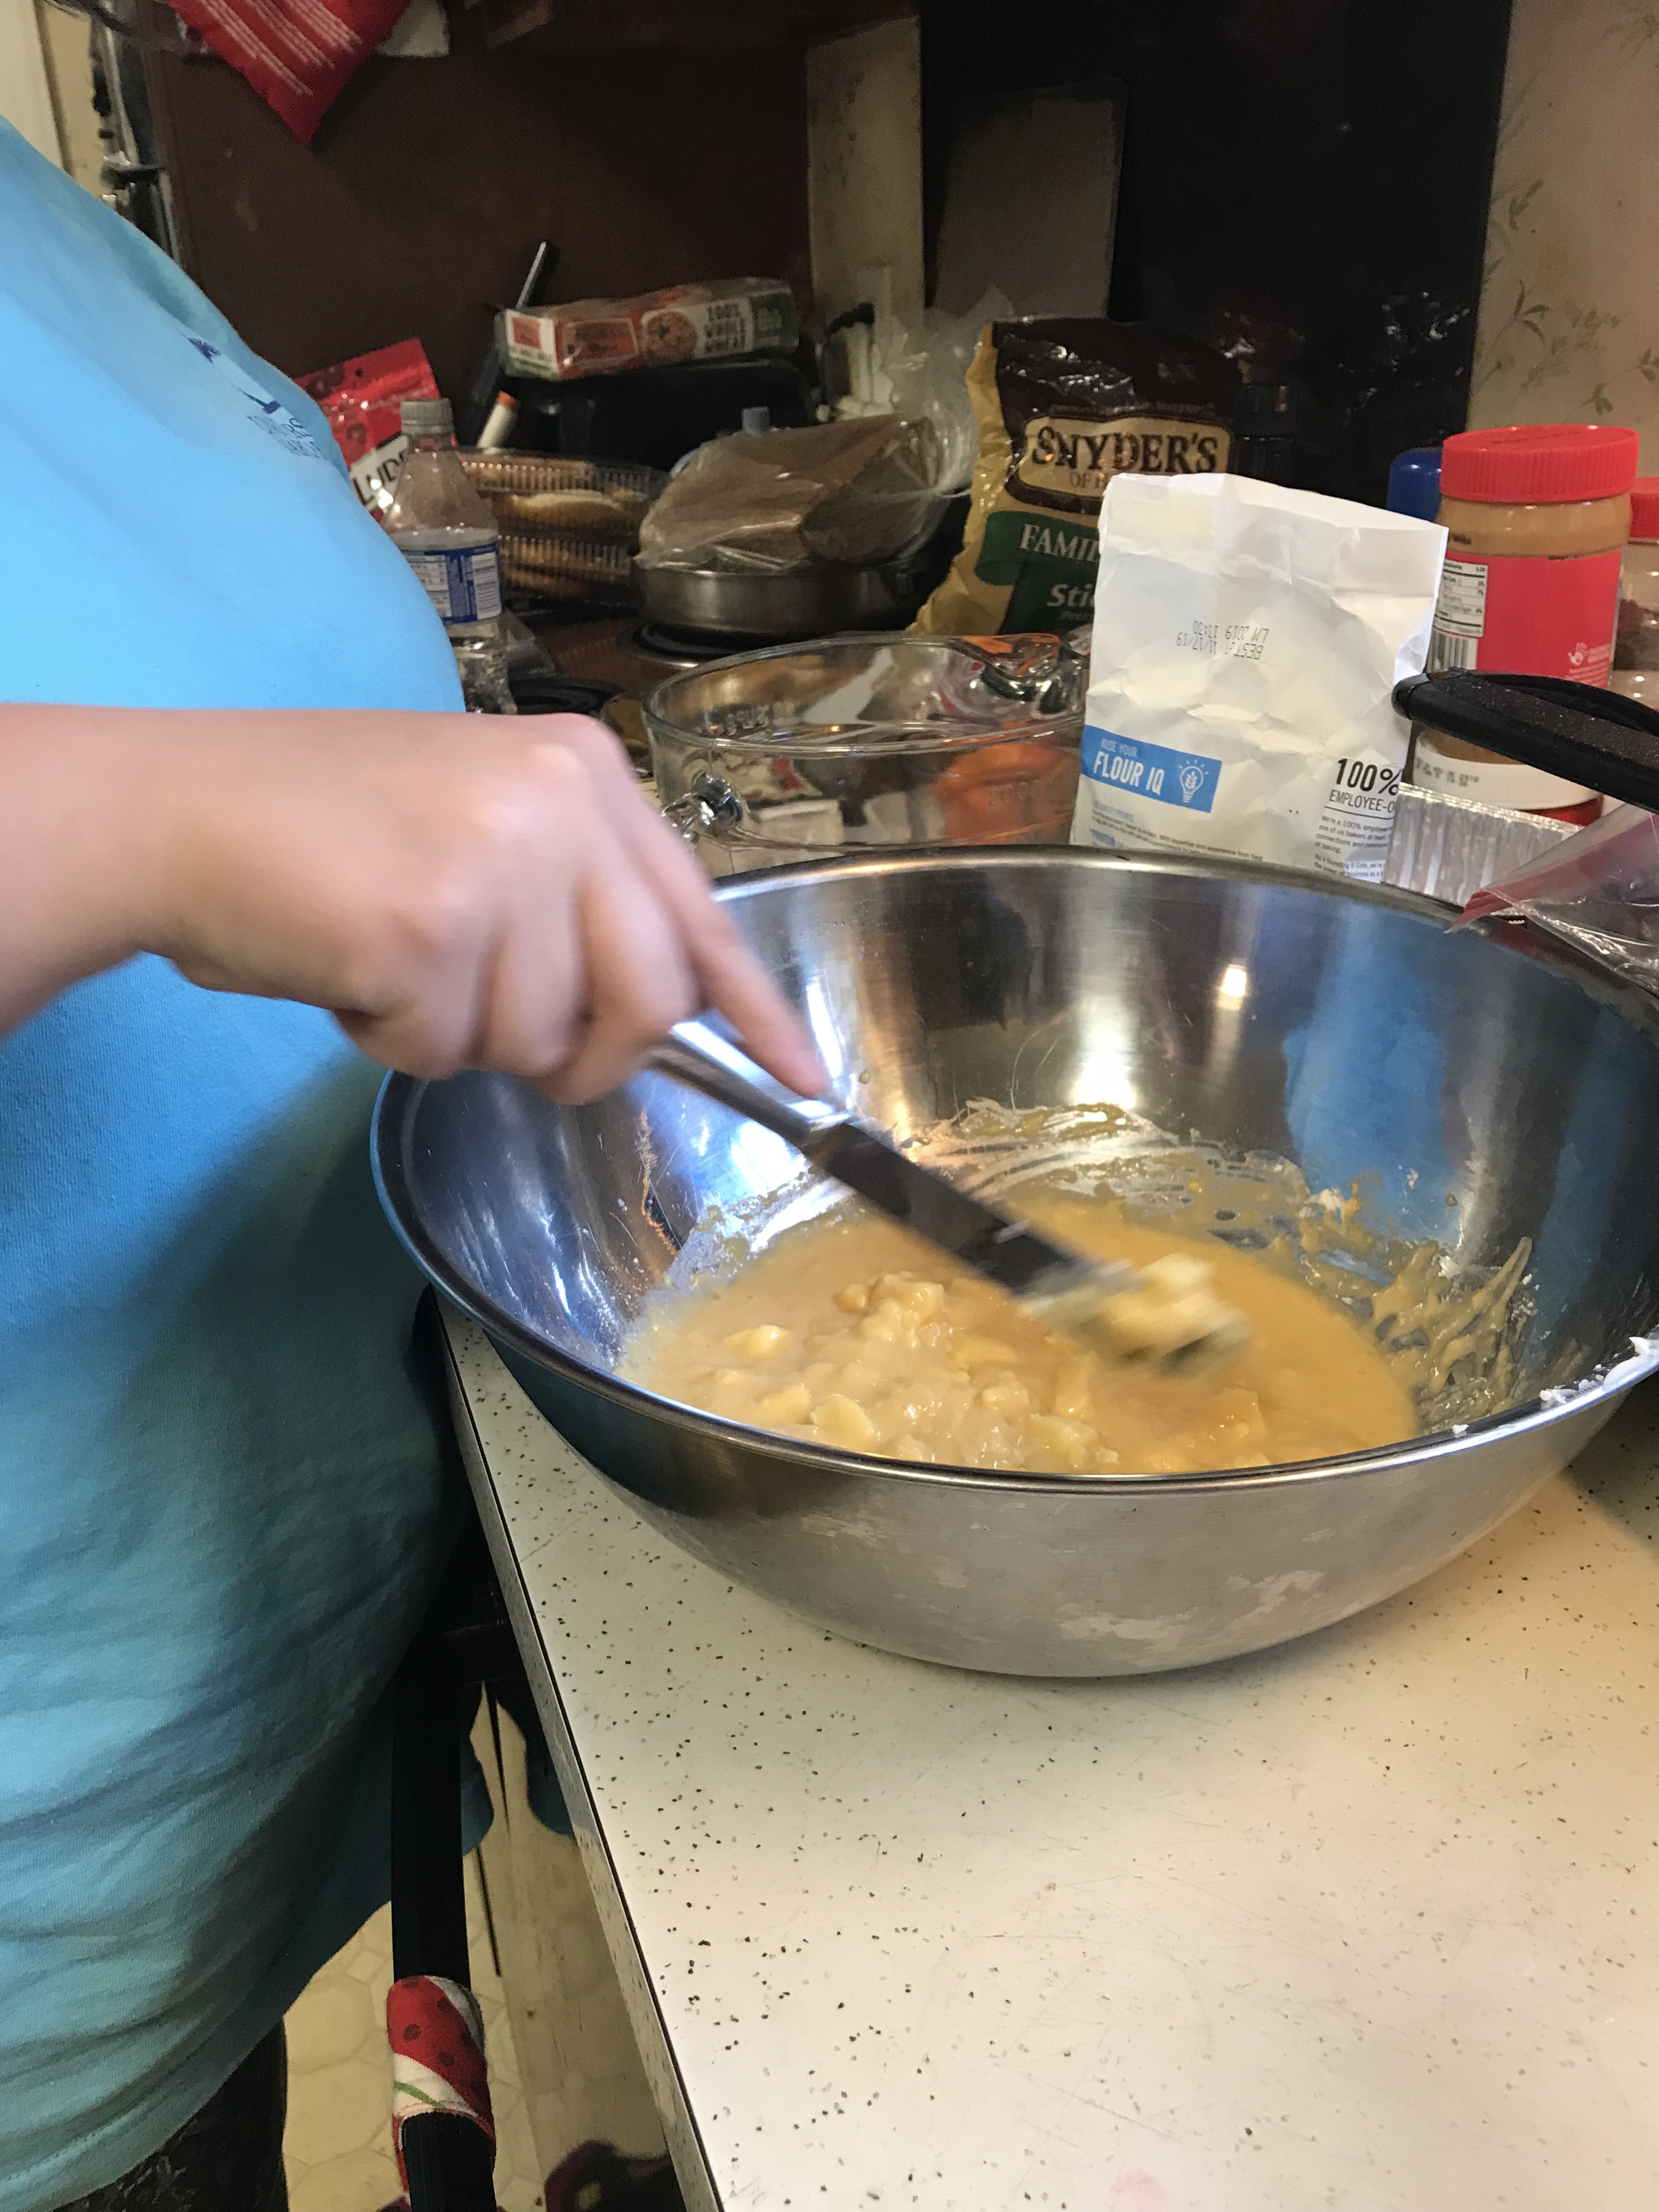
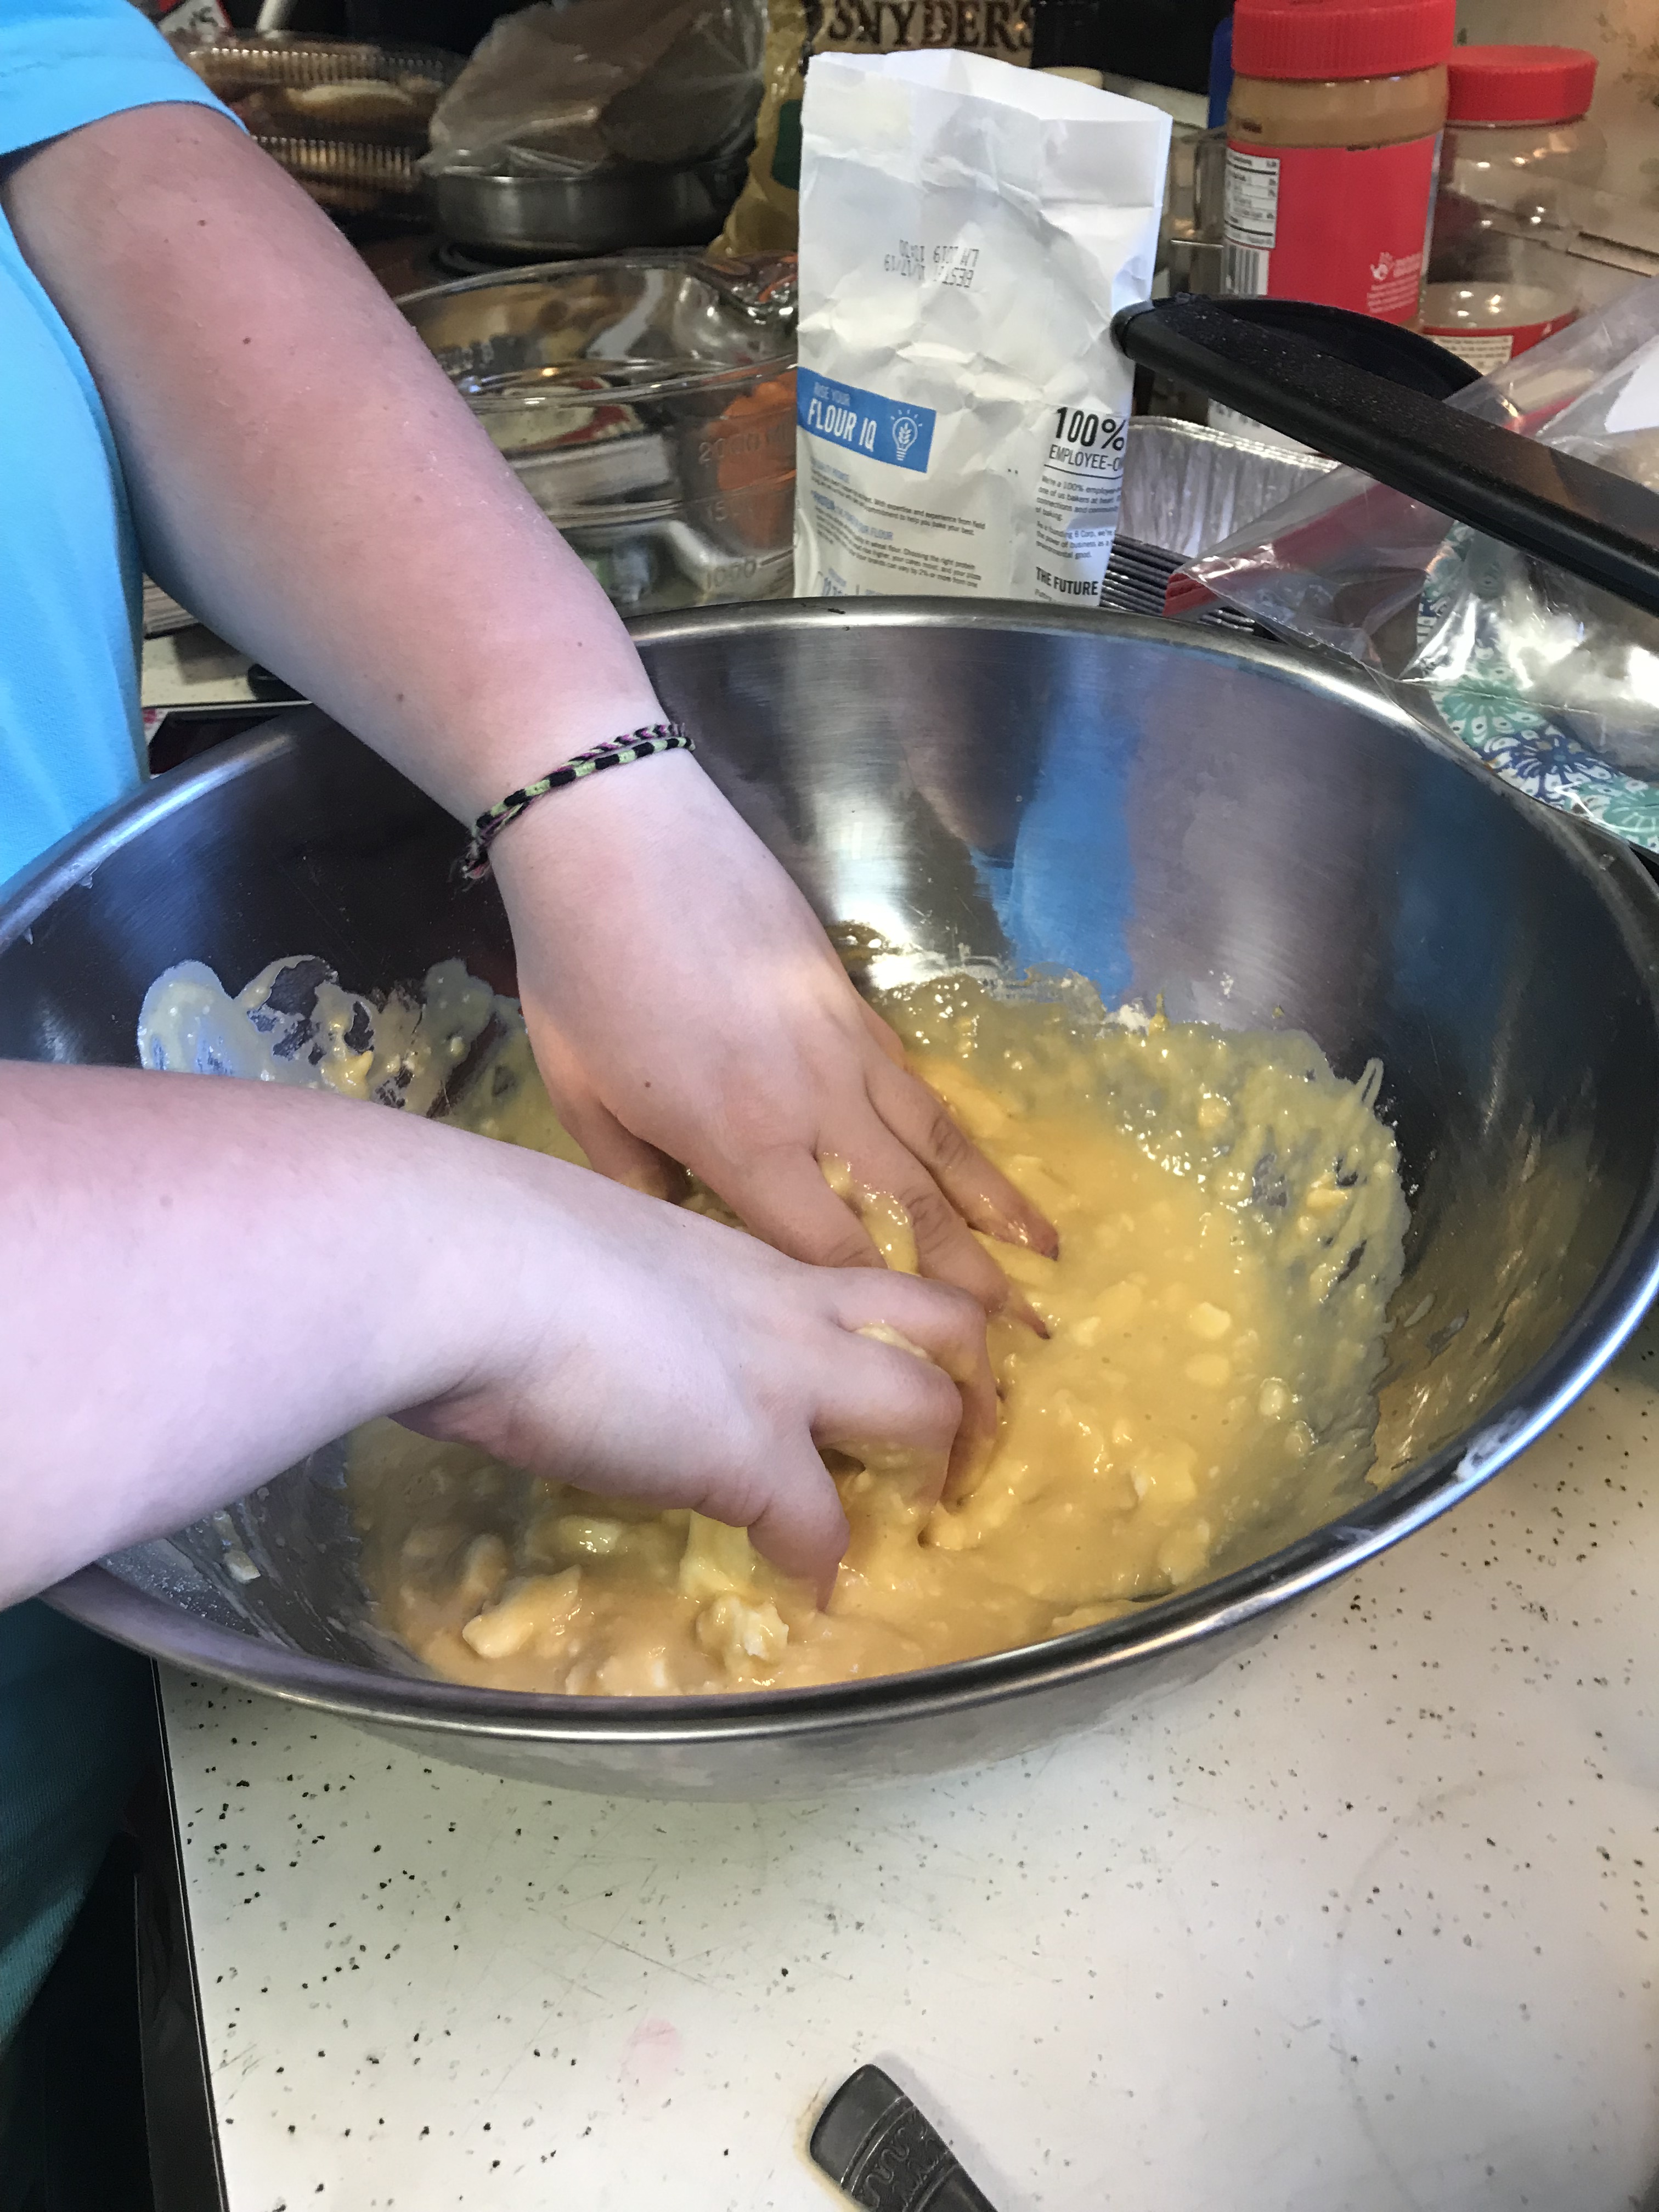
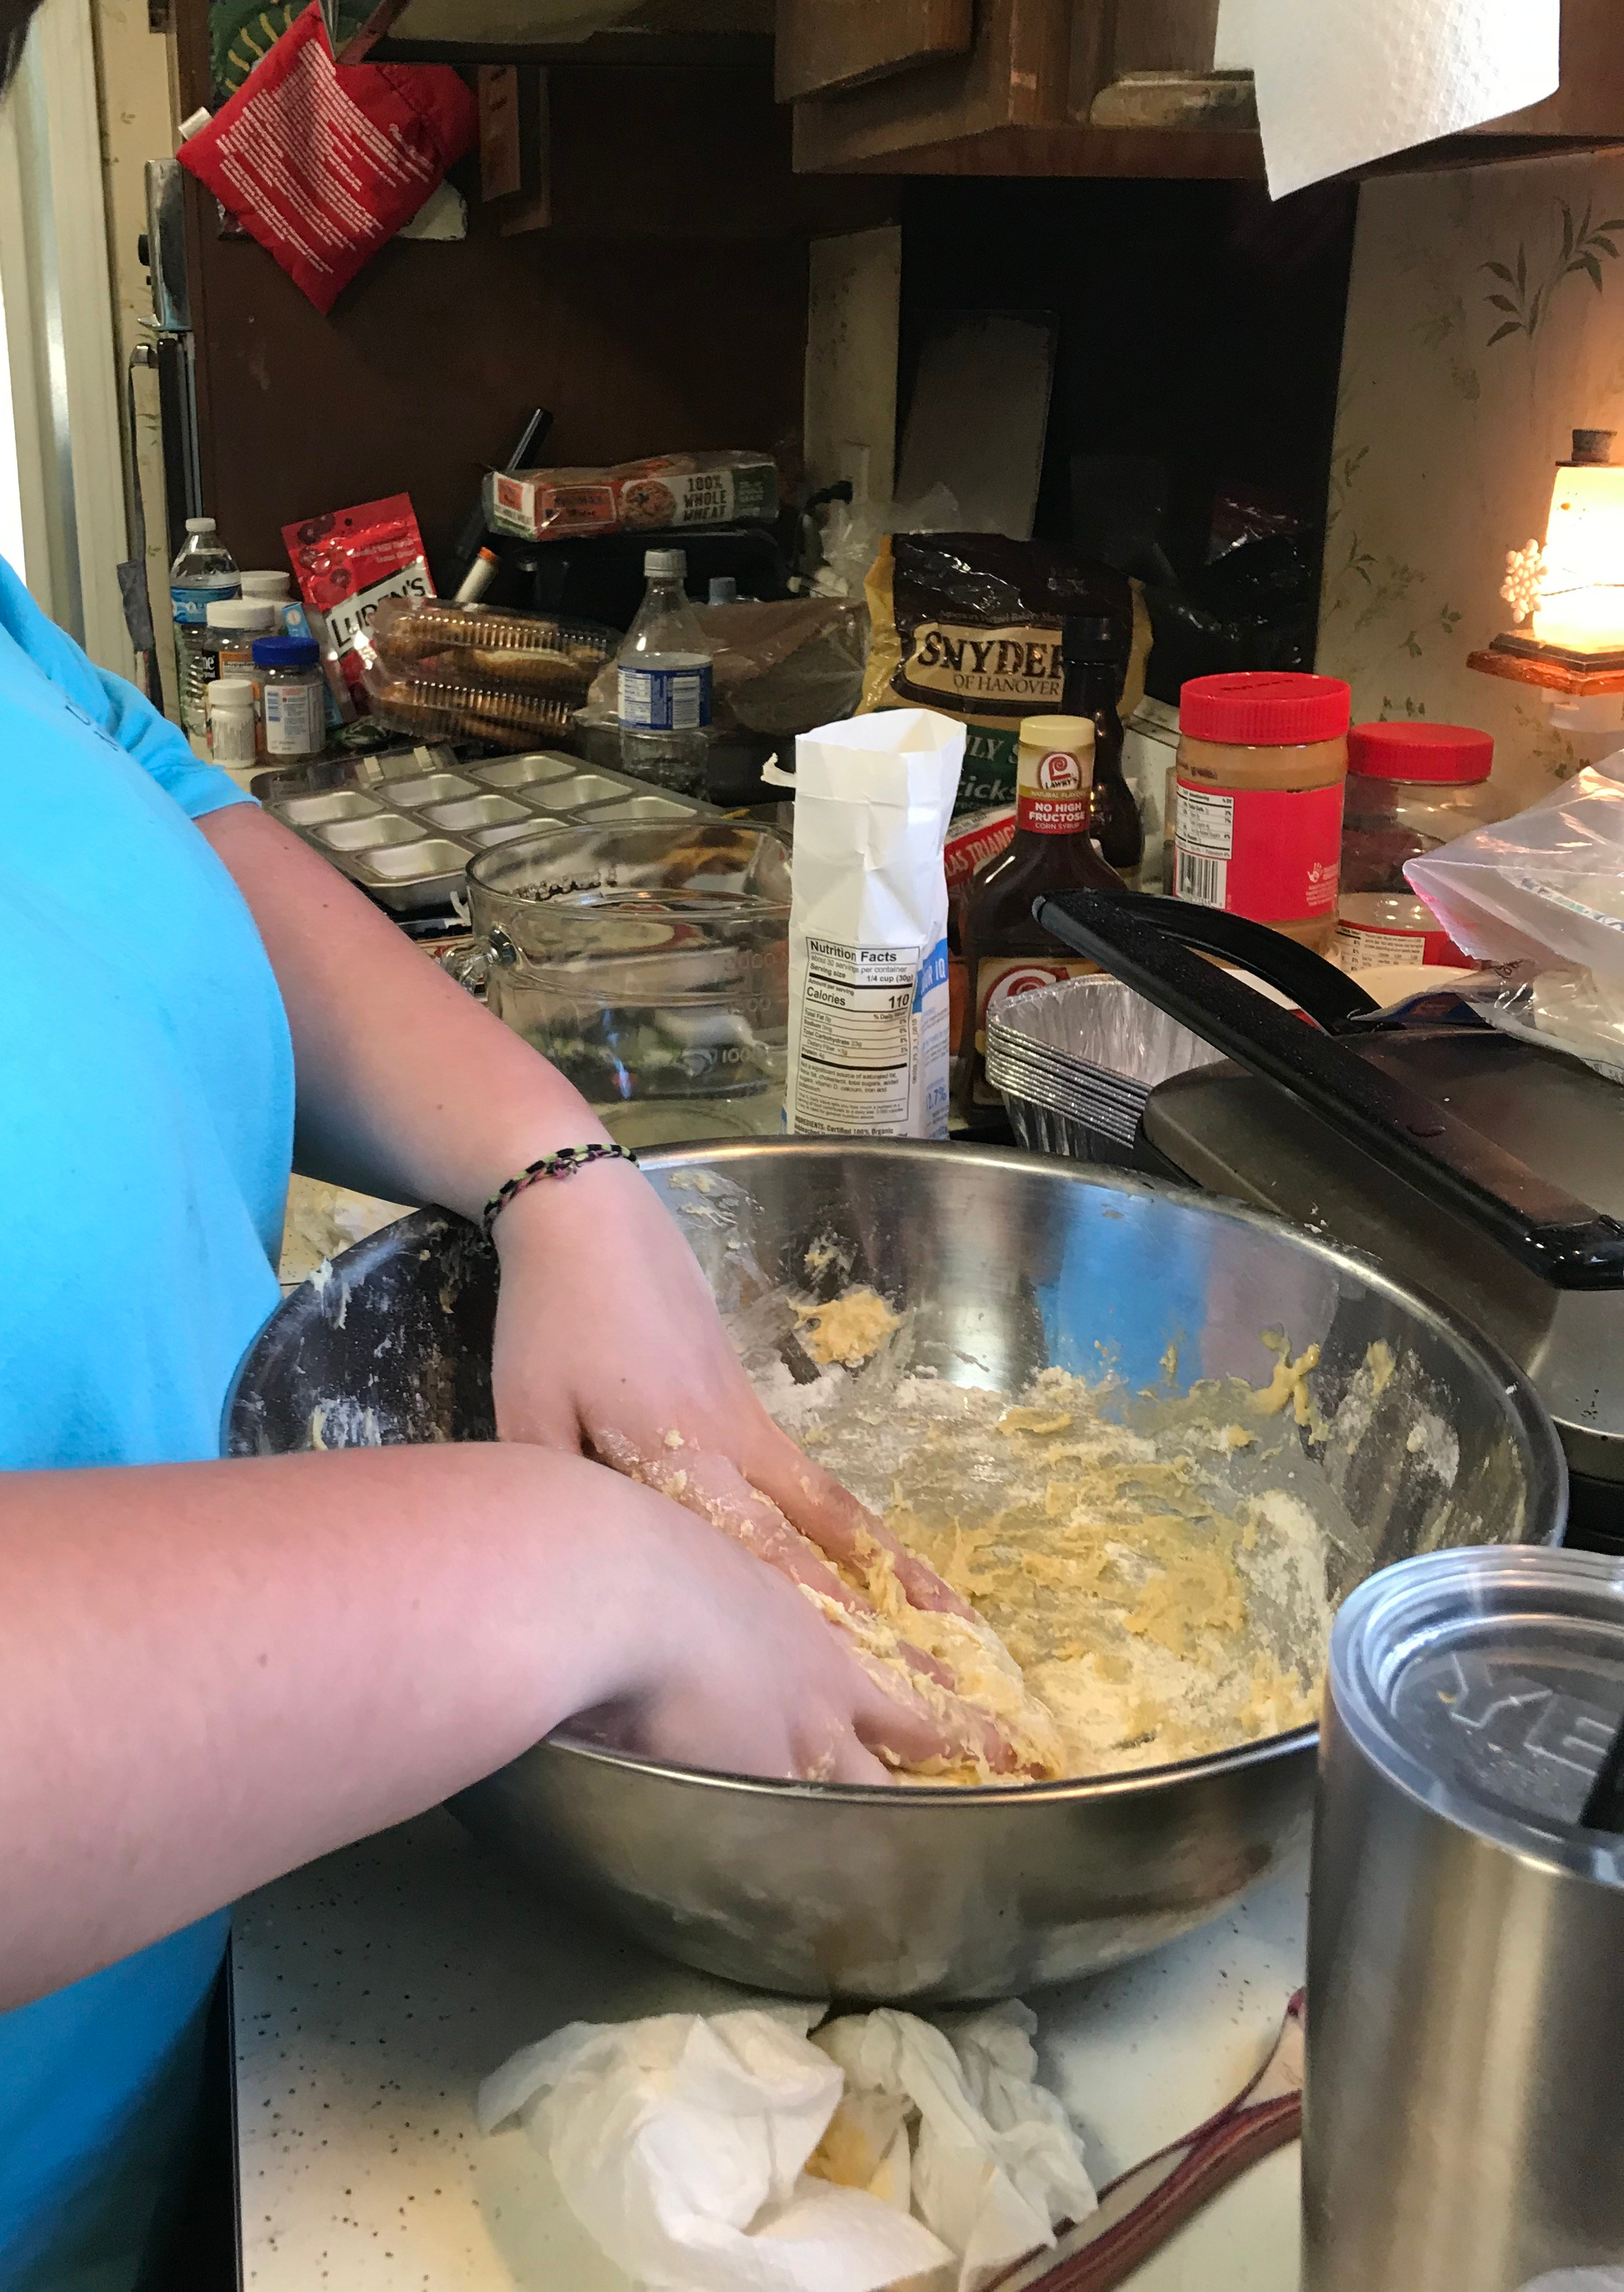
While you wait for it to rise- Place remaining flour into a bowl, making a ring. Put in the salt, sugar, and then “egg.” This is where Artusi was not the most clear in his directions. He did not specify the number of eggs to place in the circle of the flour, so I went a head and placed all 6 eggs (as pictured below). However, I found out later on that I was only suppose to place 1 egg- but the recipe still turned out fine so oh well!

flour placed in a circle
Adding salt and sugar
Adding in the egg(s)… oops!
You then begin to mix it all together using your hands
once well incorporated, you cut up the butter into small pieces and place it in the mixture
You begin by mixing the butter into the mixture using the blade of a knife
You then use your hands to finish working in the butter
You then bring out the dough that you have been letting rise. By now it should at least have doubled in size!
Next, you place the dough that has been rising into the new dough mixture you just finished making. You knead them together until both dough’s are fully combined.

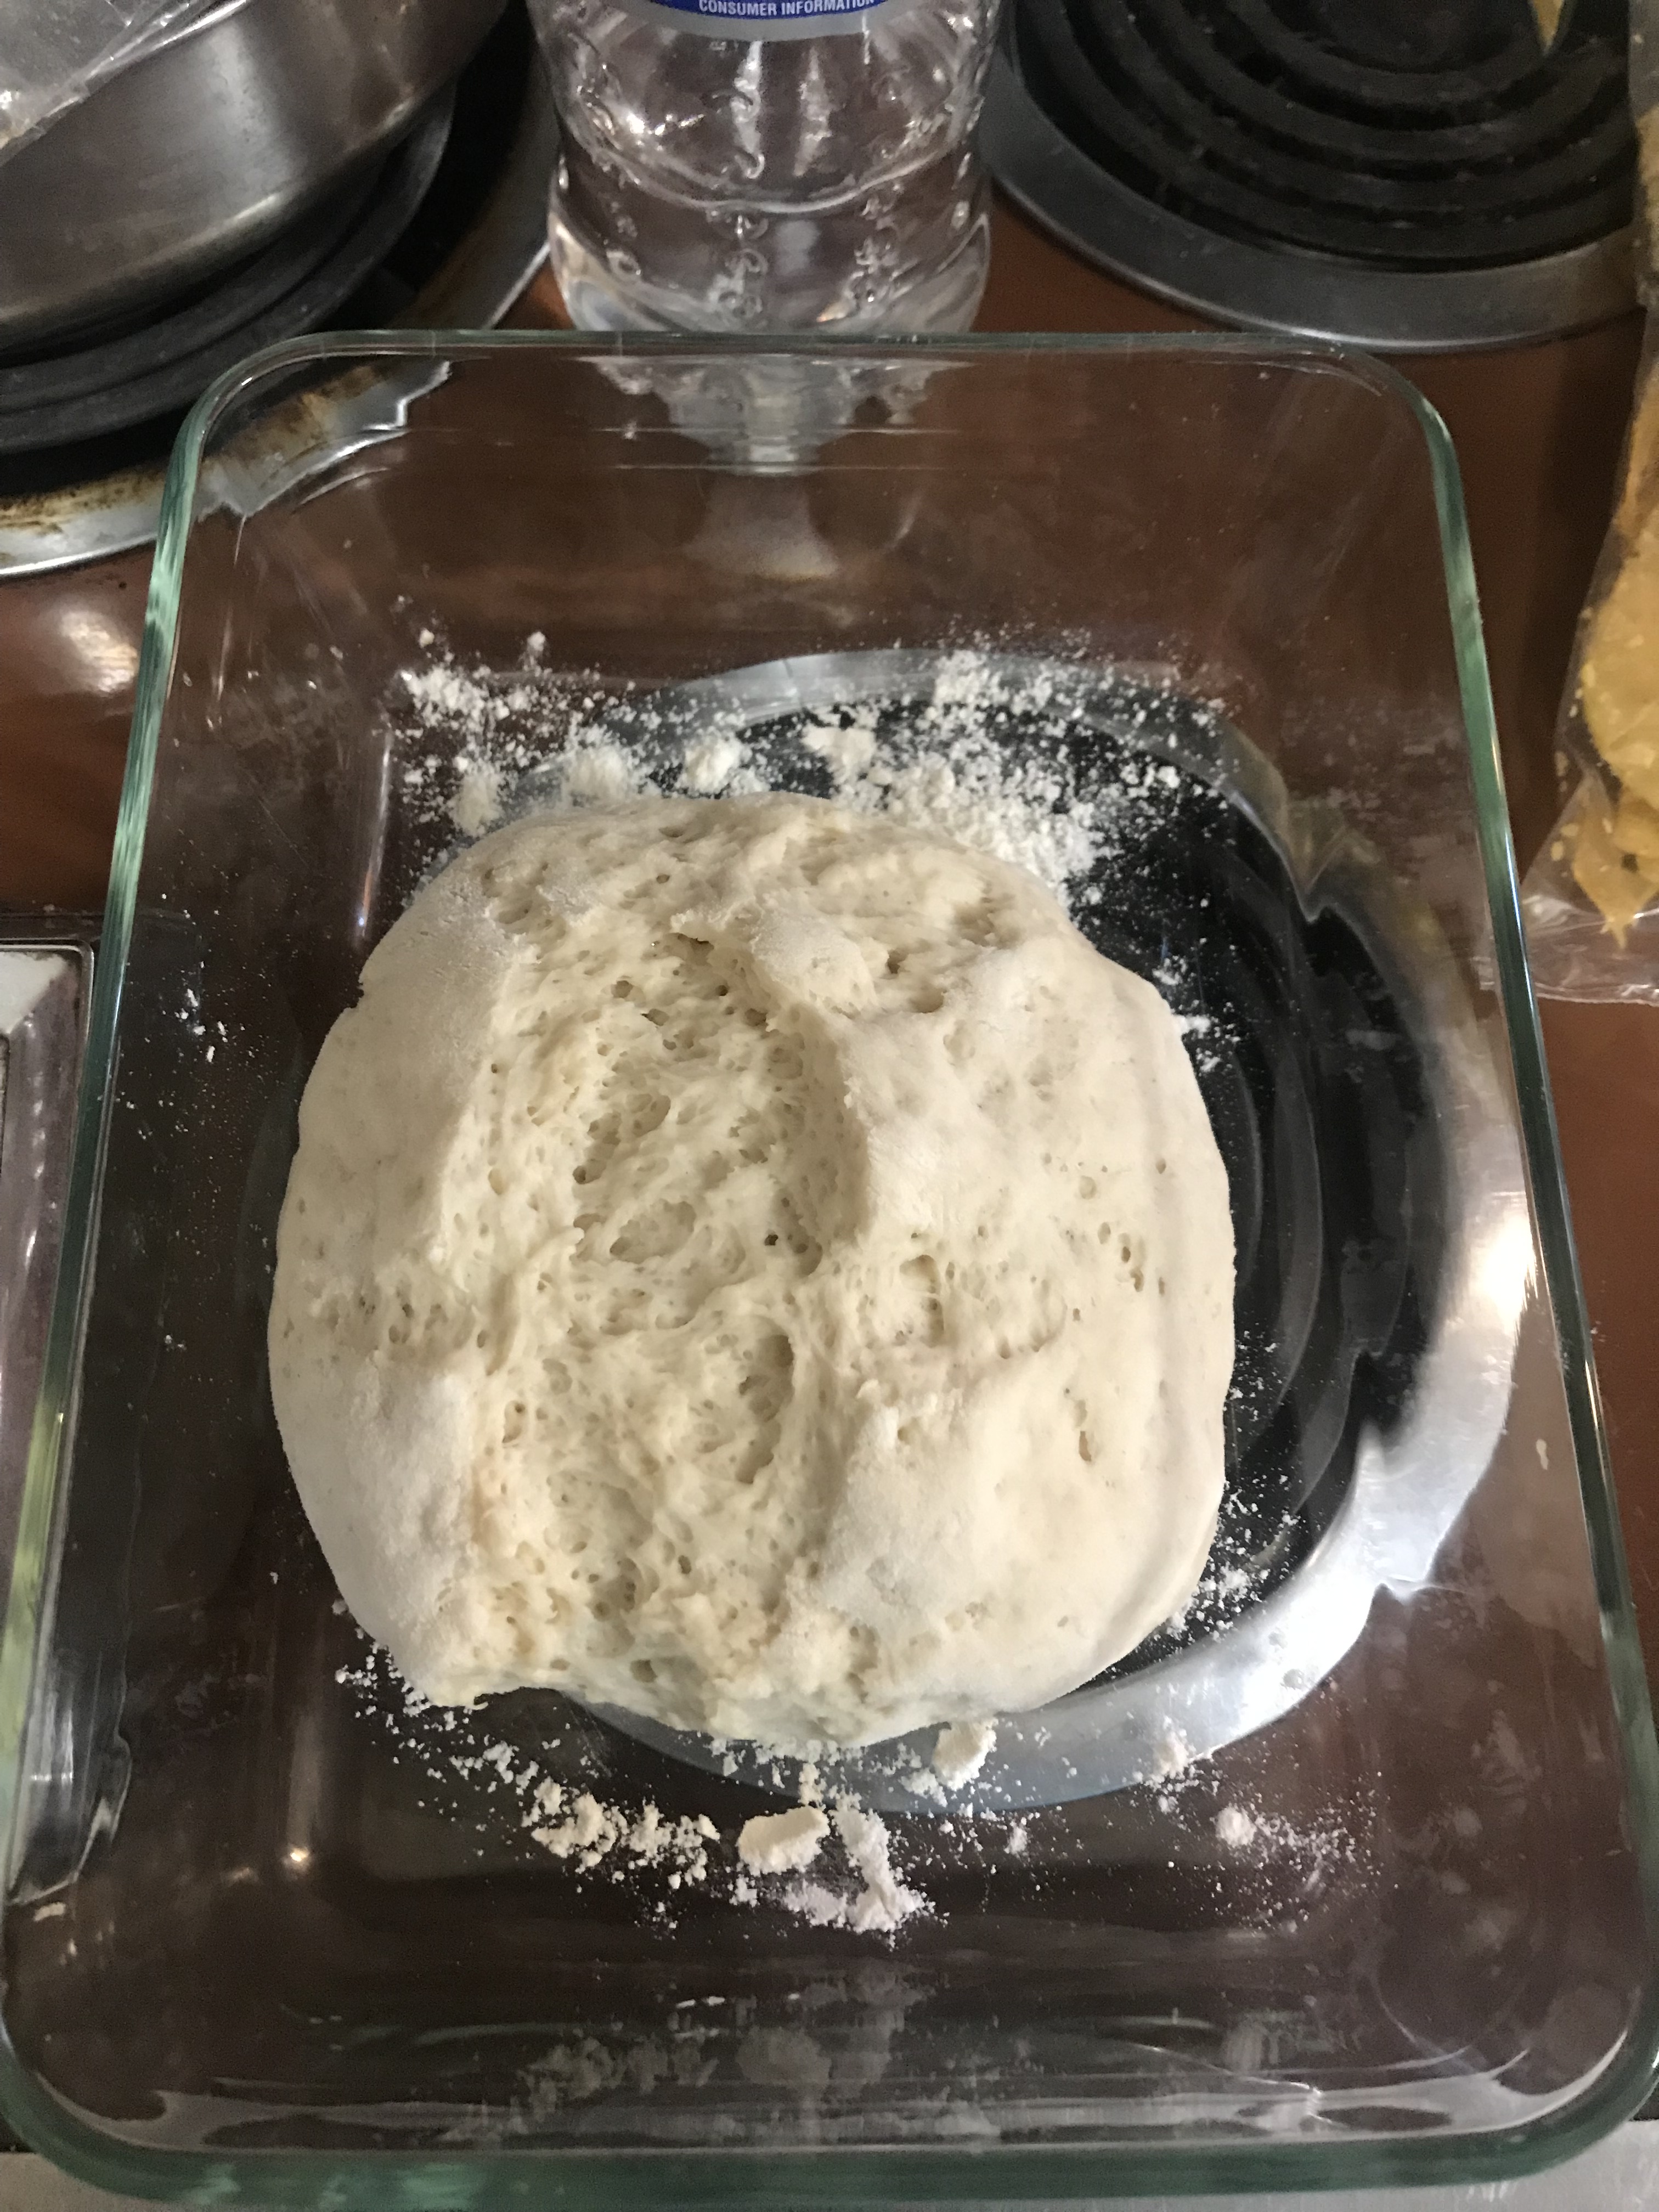
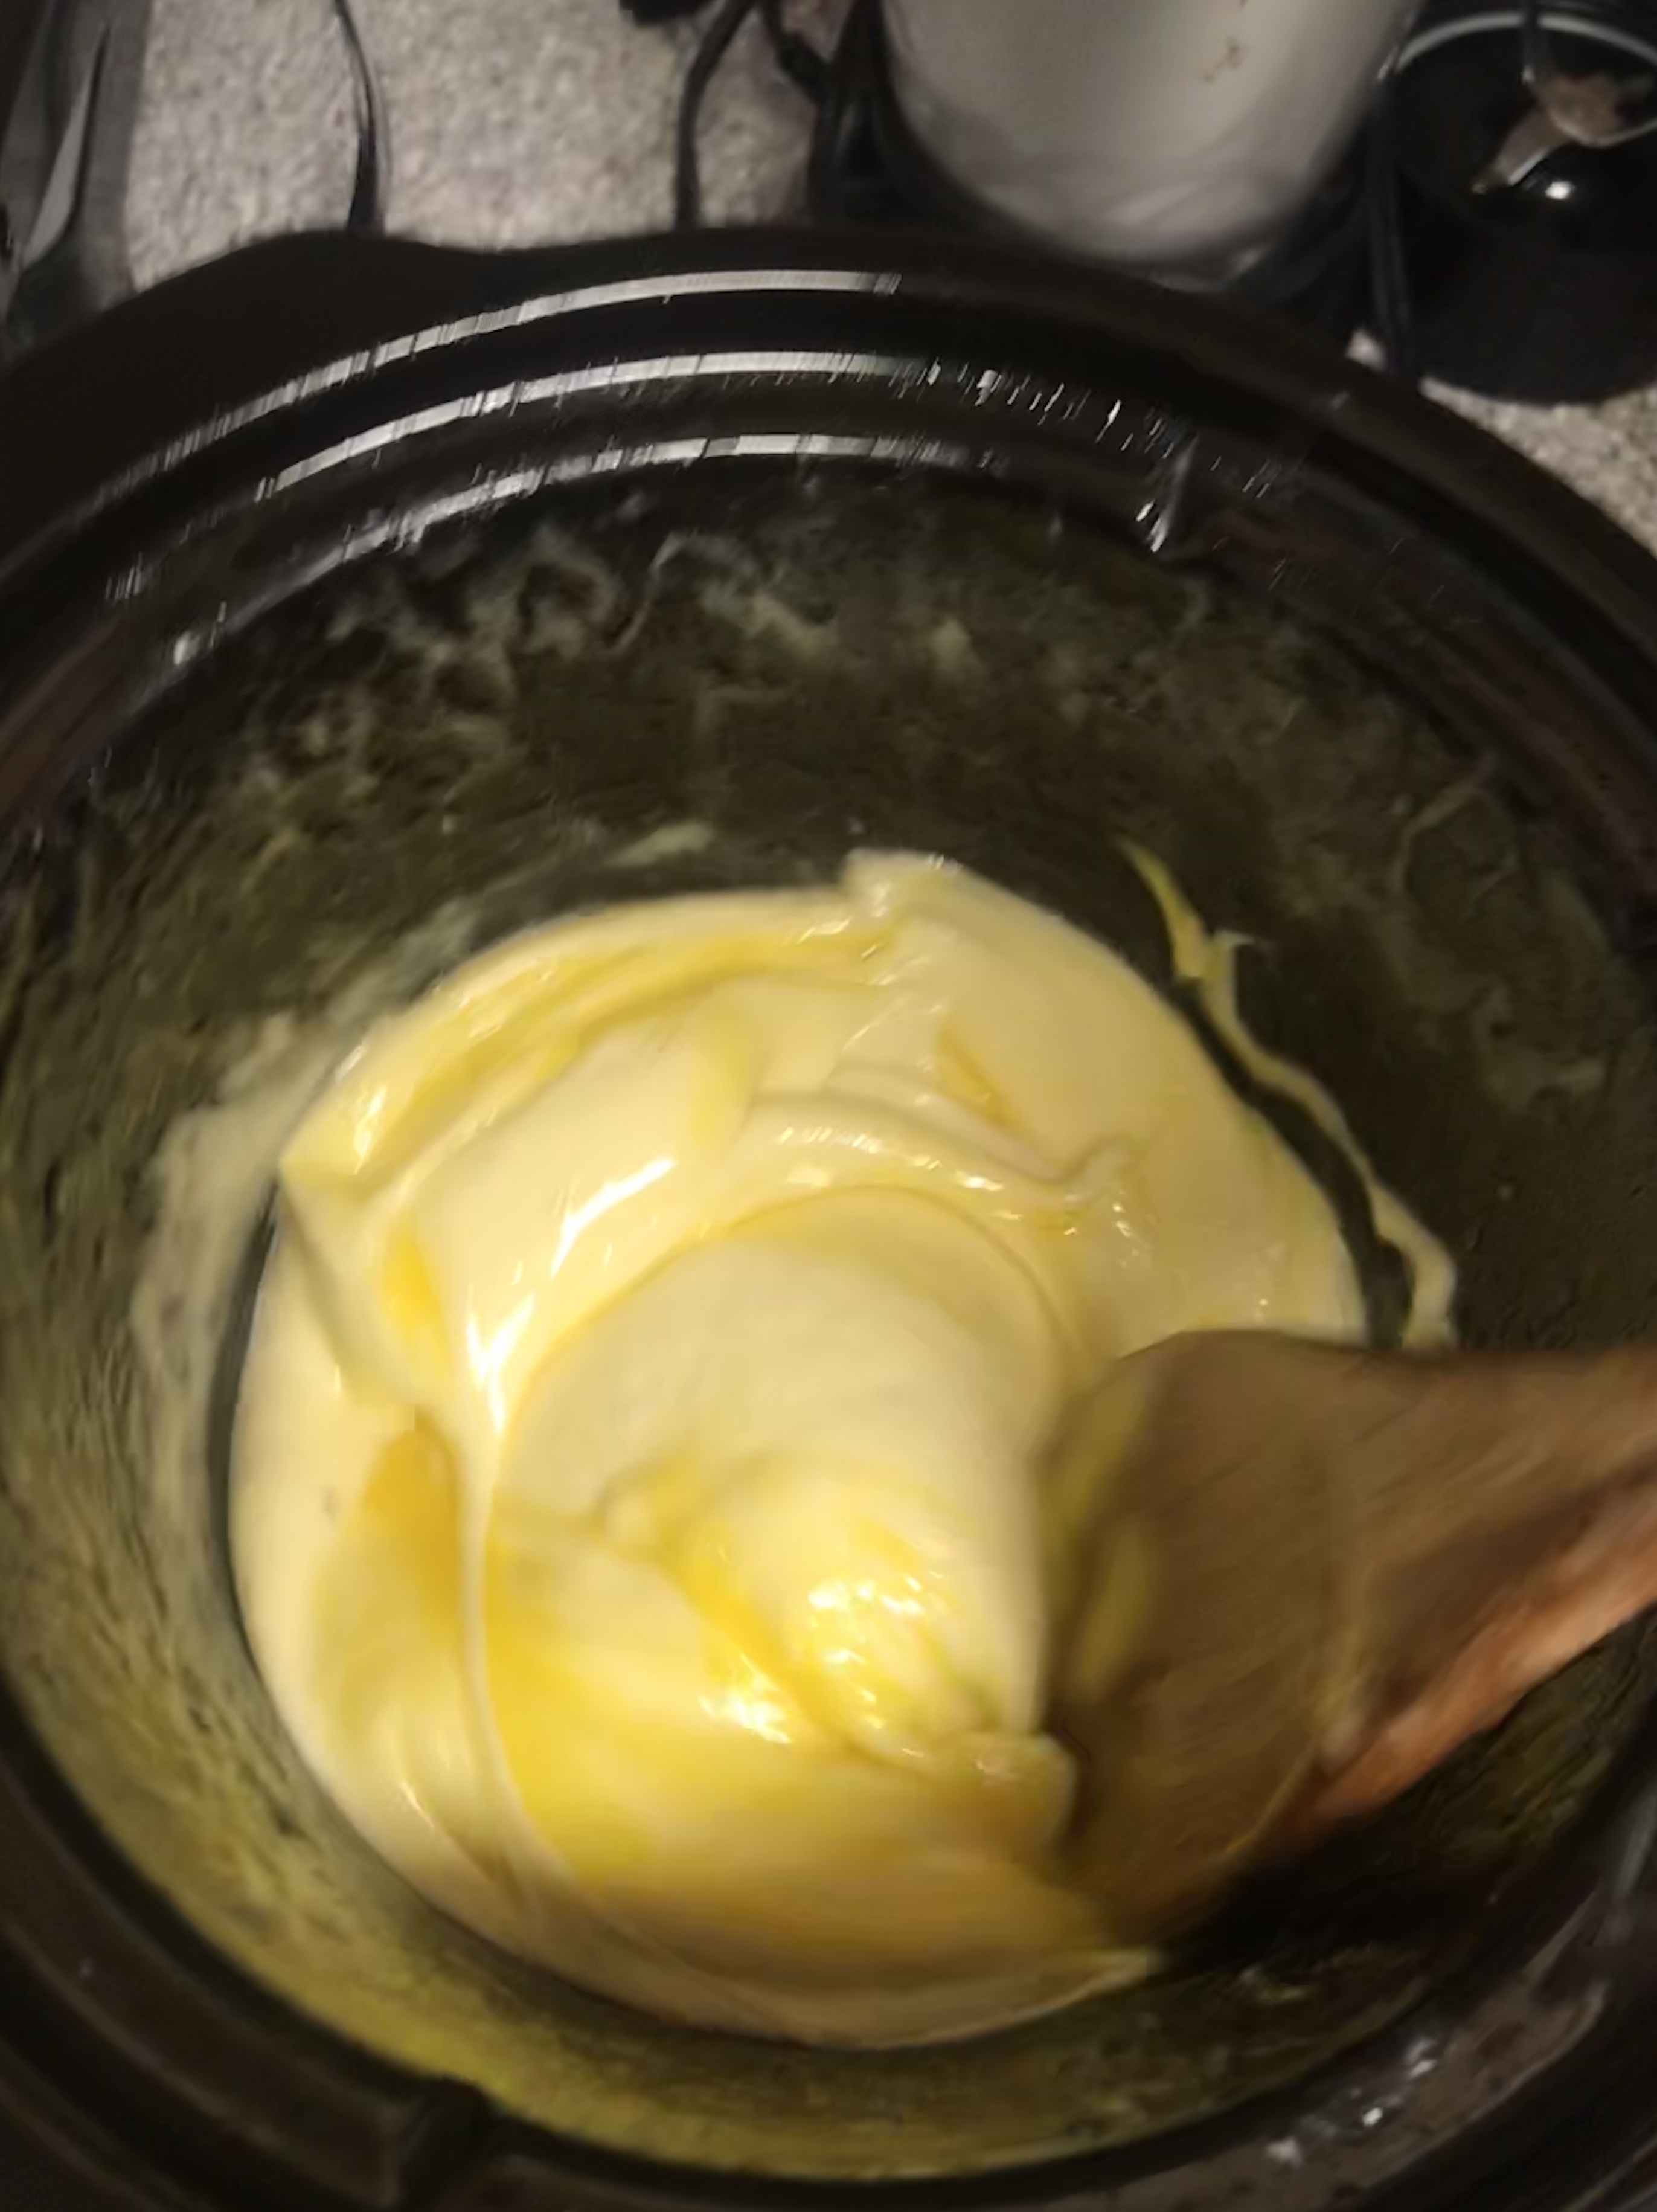
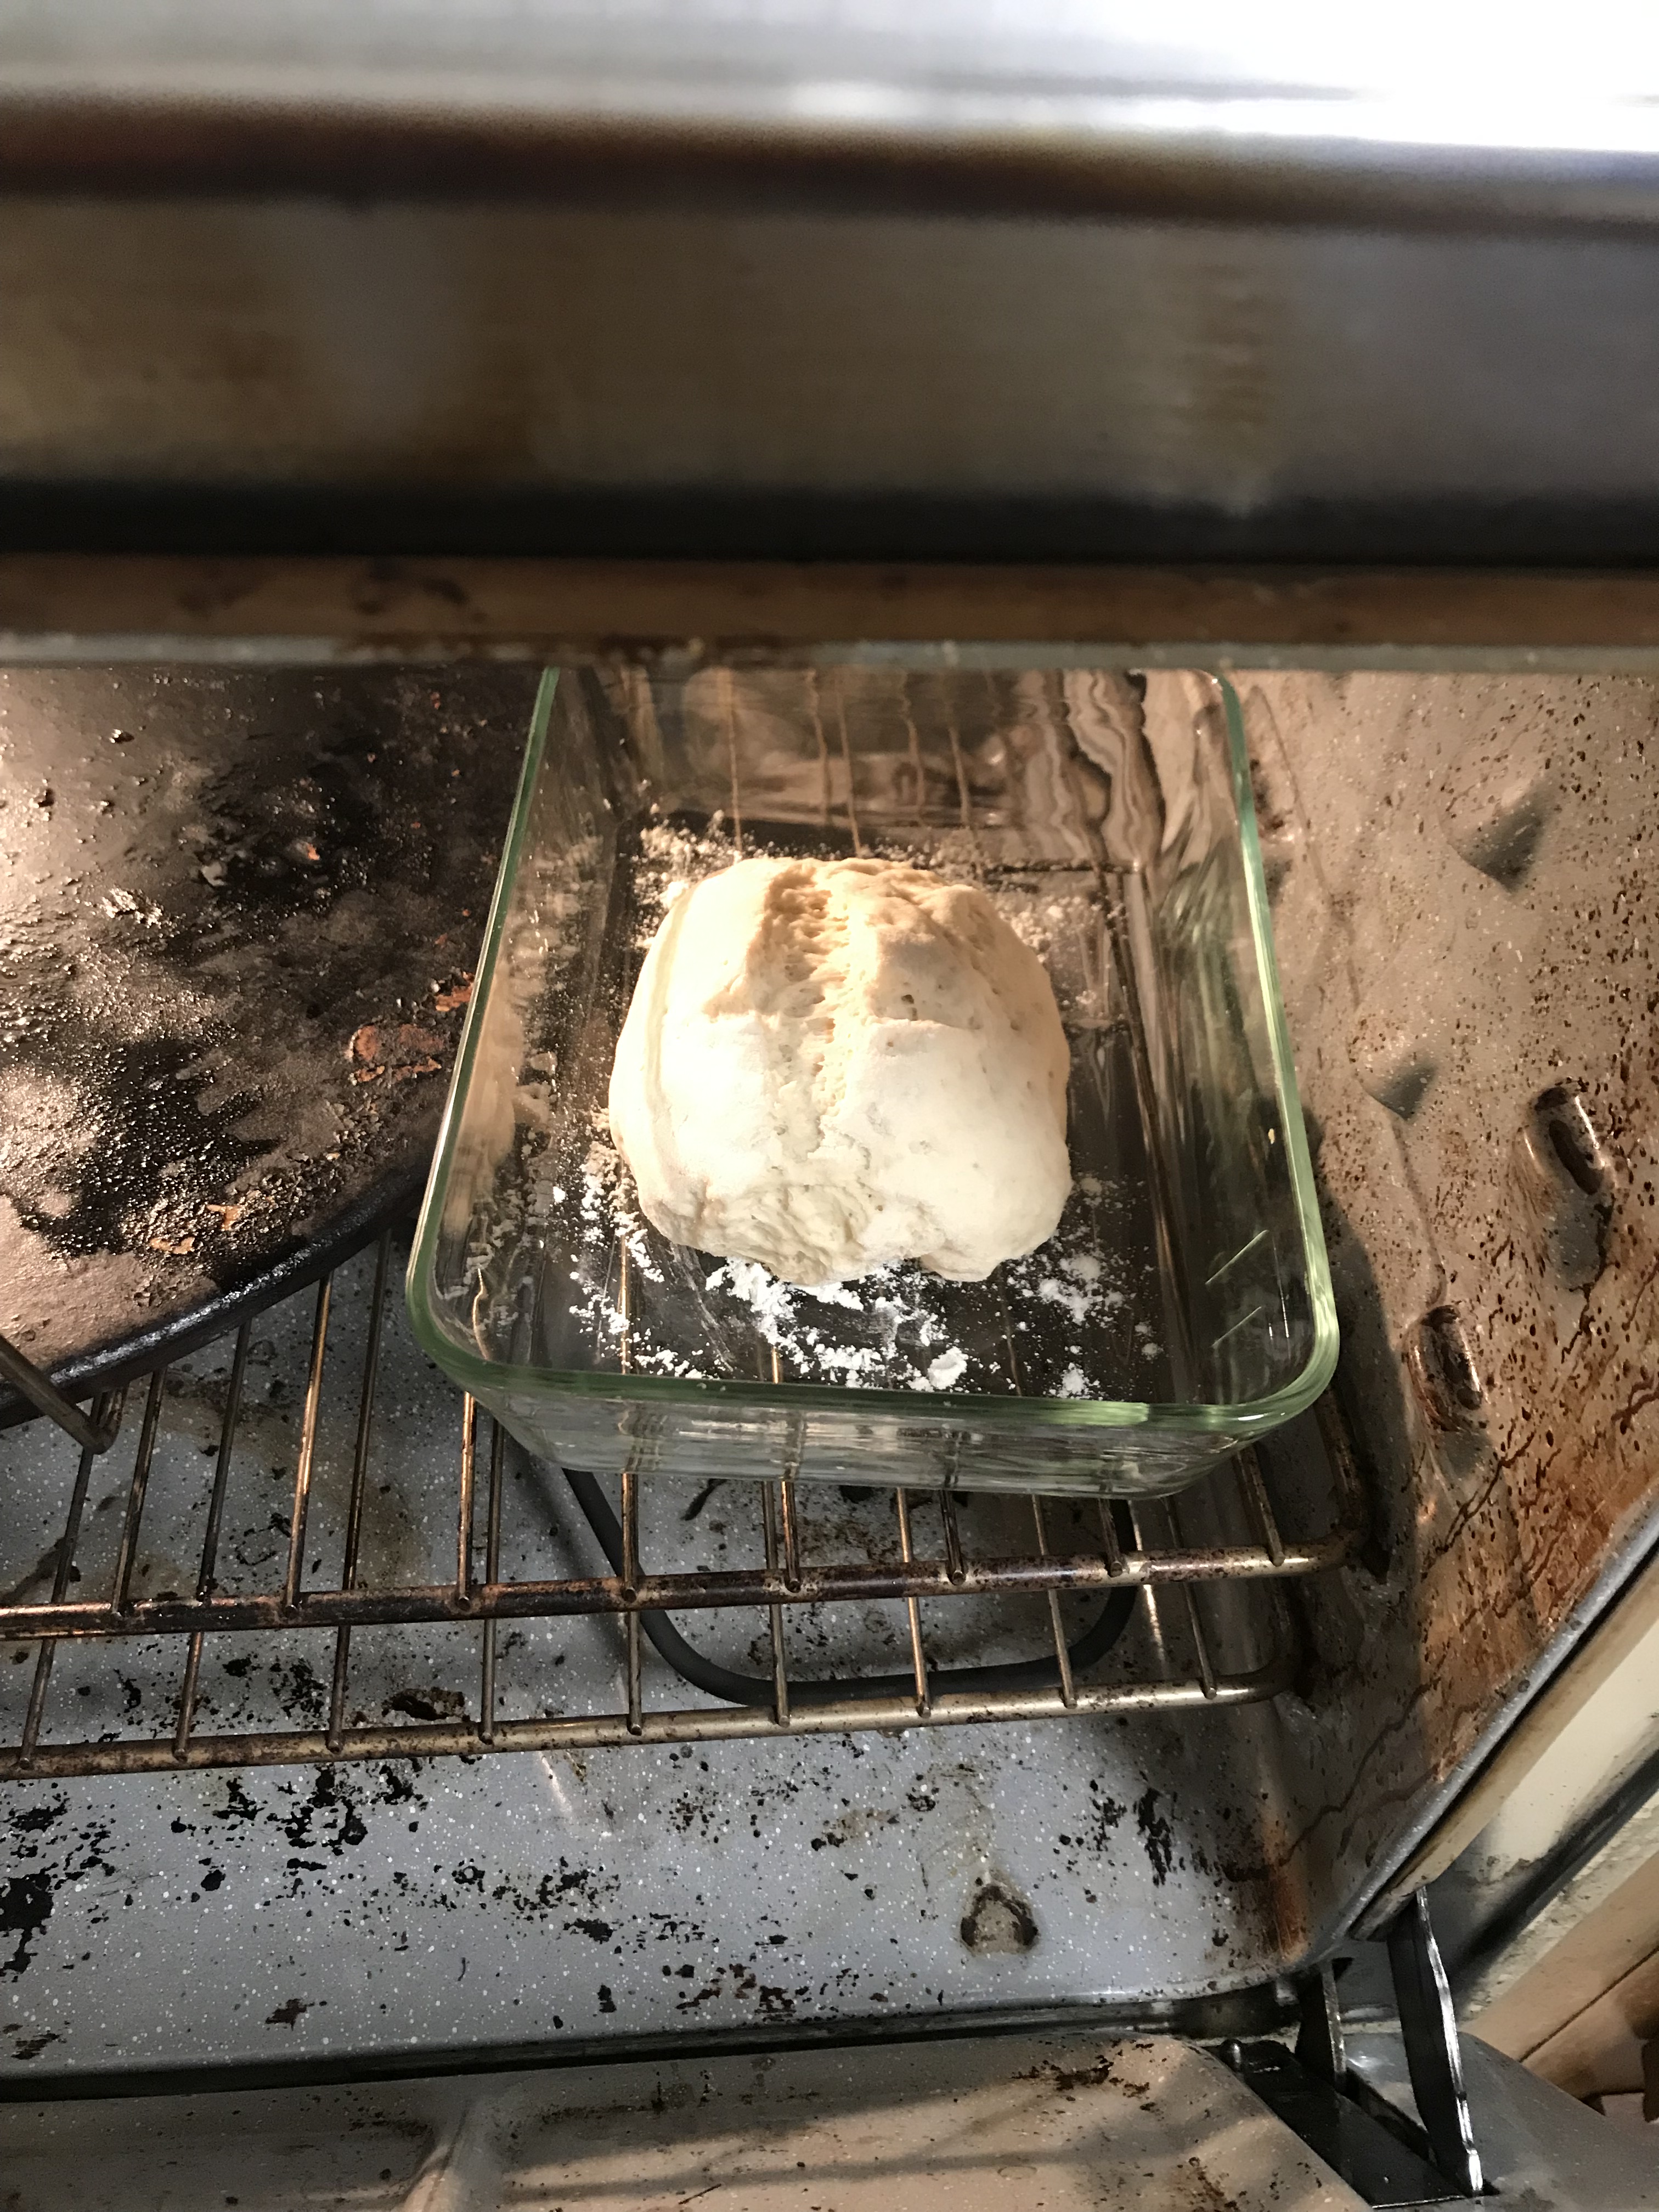
Let the mixture sit in a warm unventilated place to rise

Once it has risen, separate it into pieces and bake. We used a mini “bread loaf” pan. Make sure to cover each section in flour to prevent sticking (this is when the recipe mentions mixing flour and confectioner’s sugar to dust the sections)
Tah-Dah! After 25 minutes in the oven on 350 degrees, we have bread! I suggest serving with jelly because they’re kind of dry. We used Blackberry jam and it was very yummy!

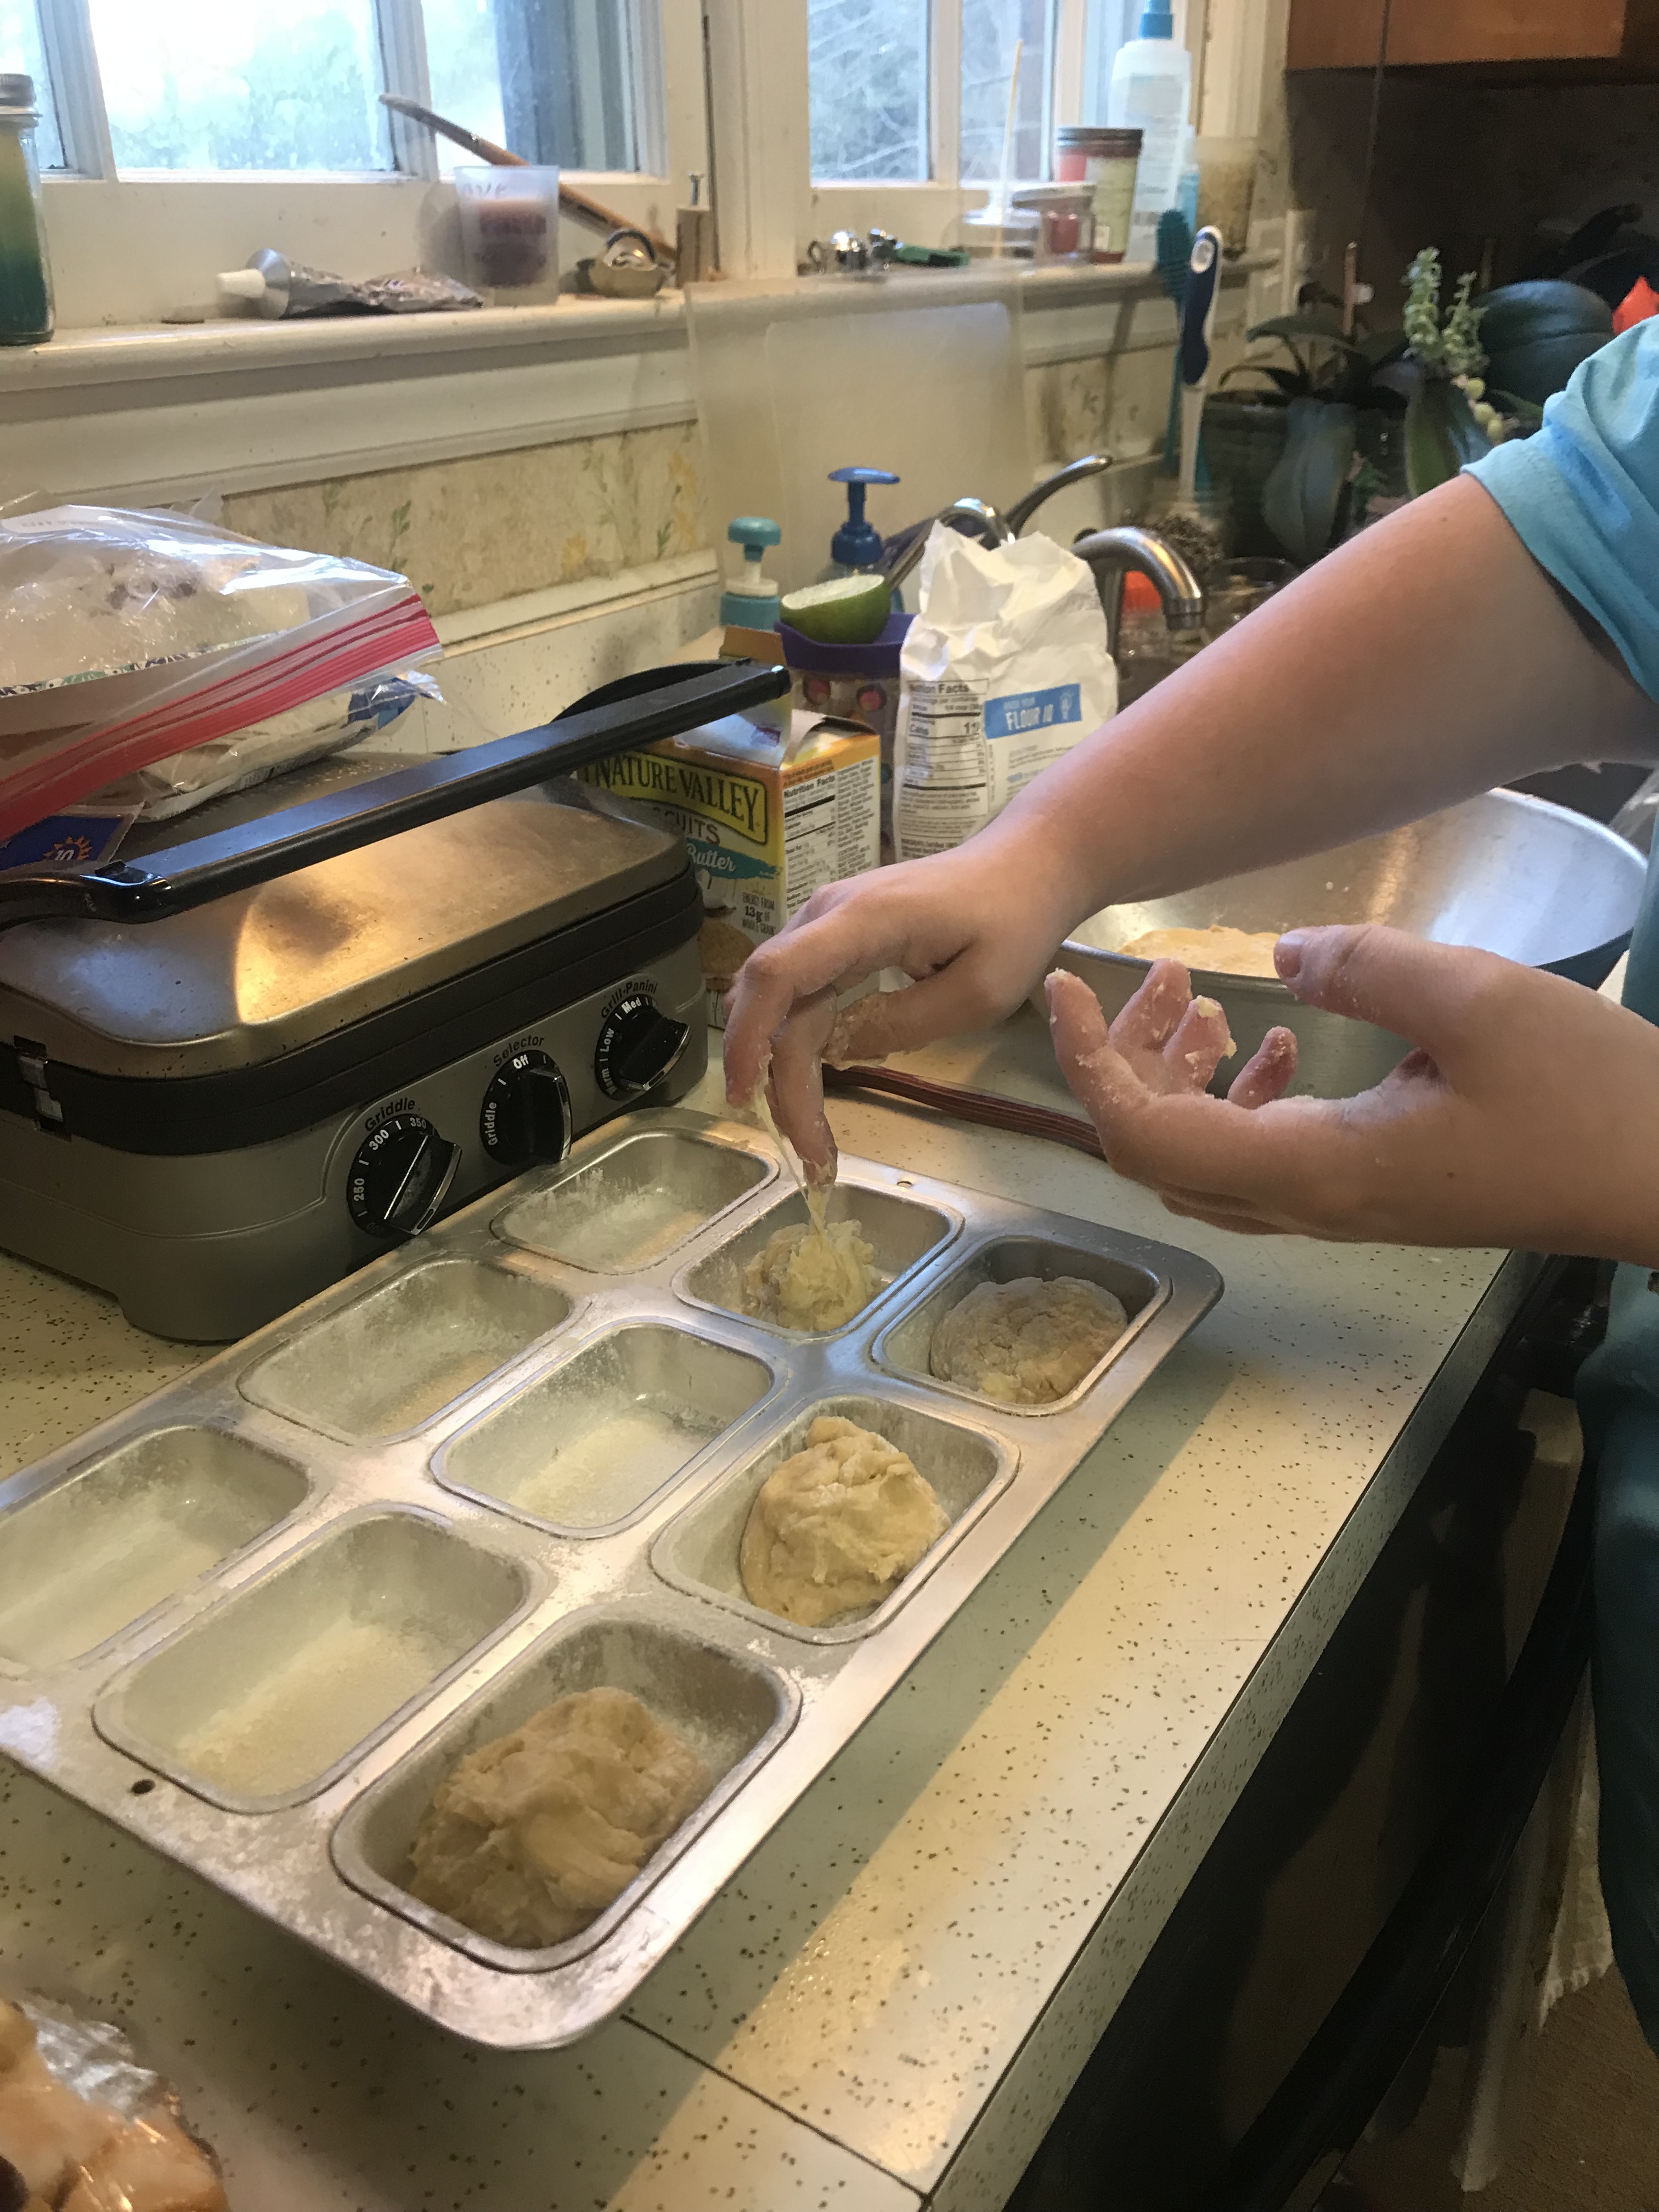
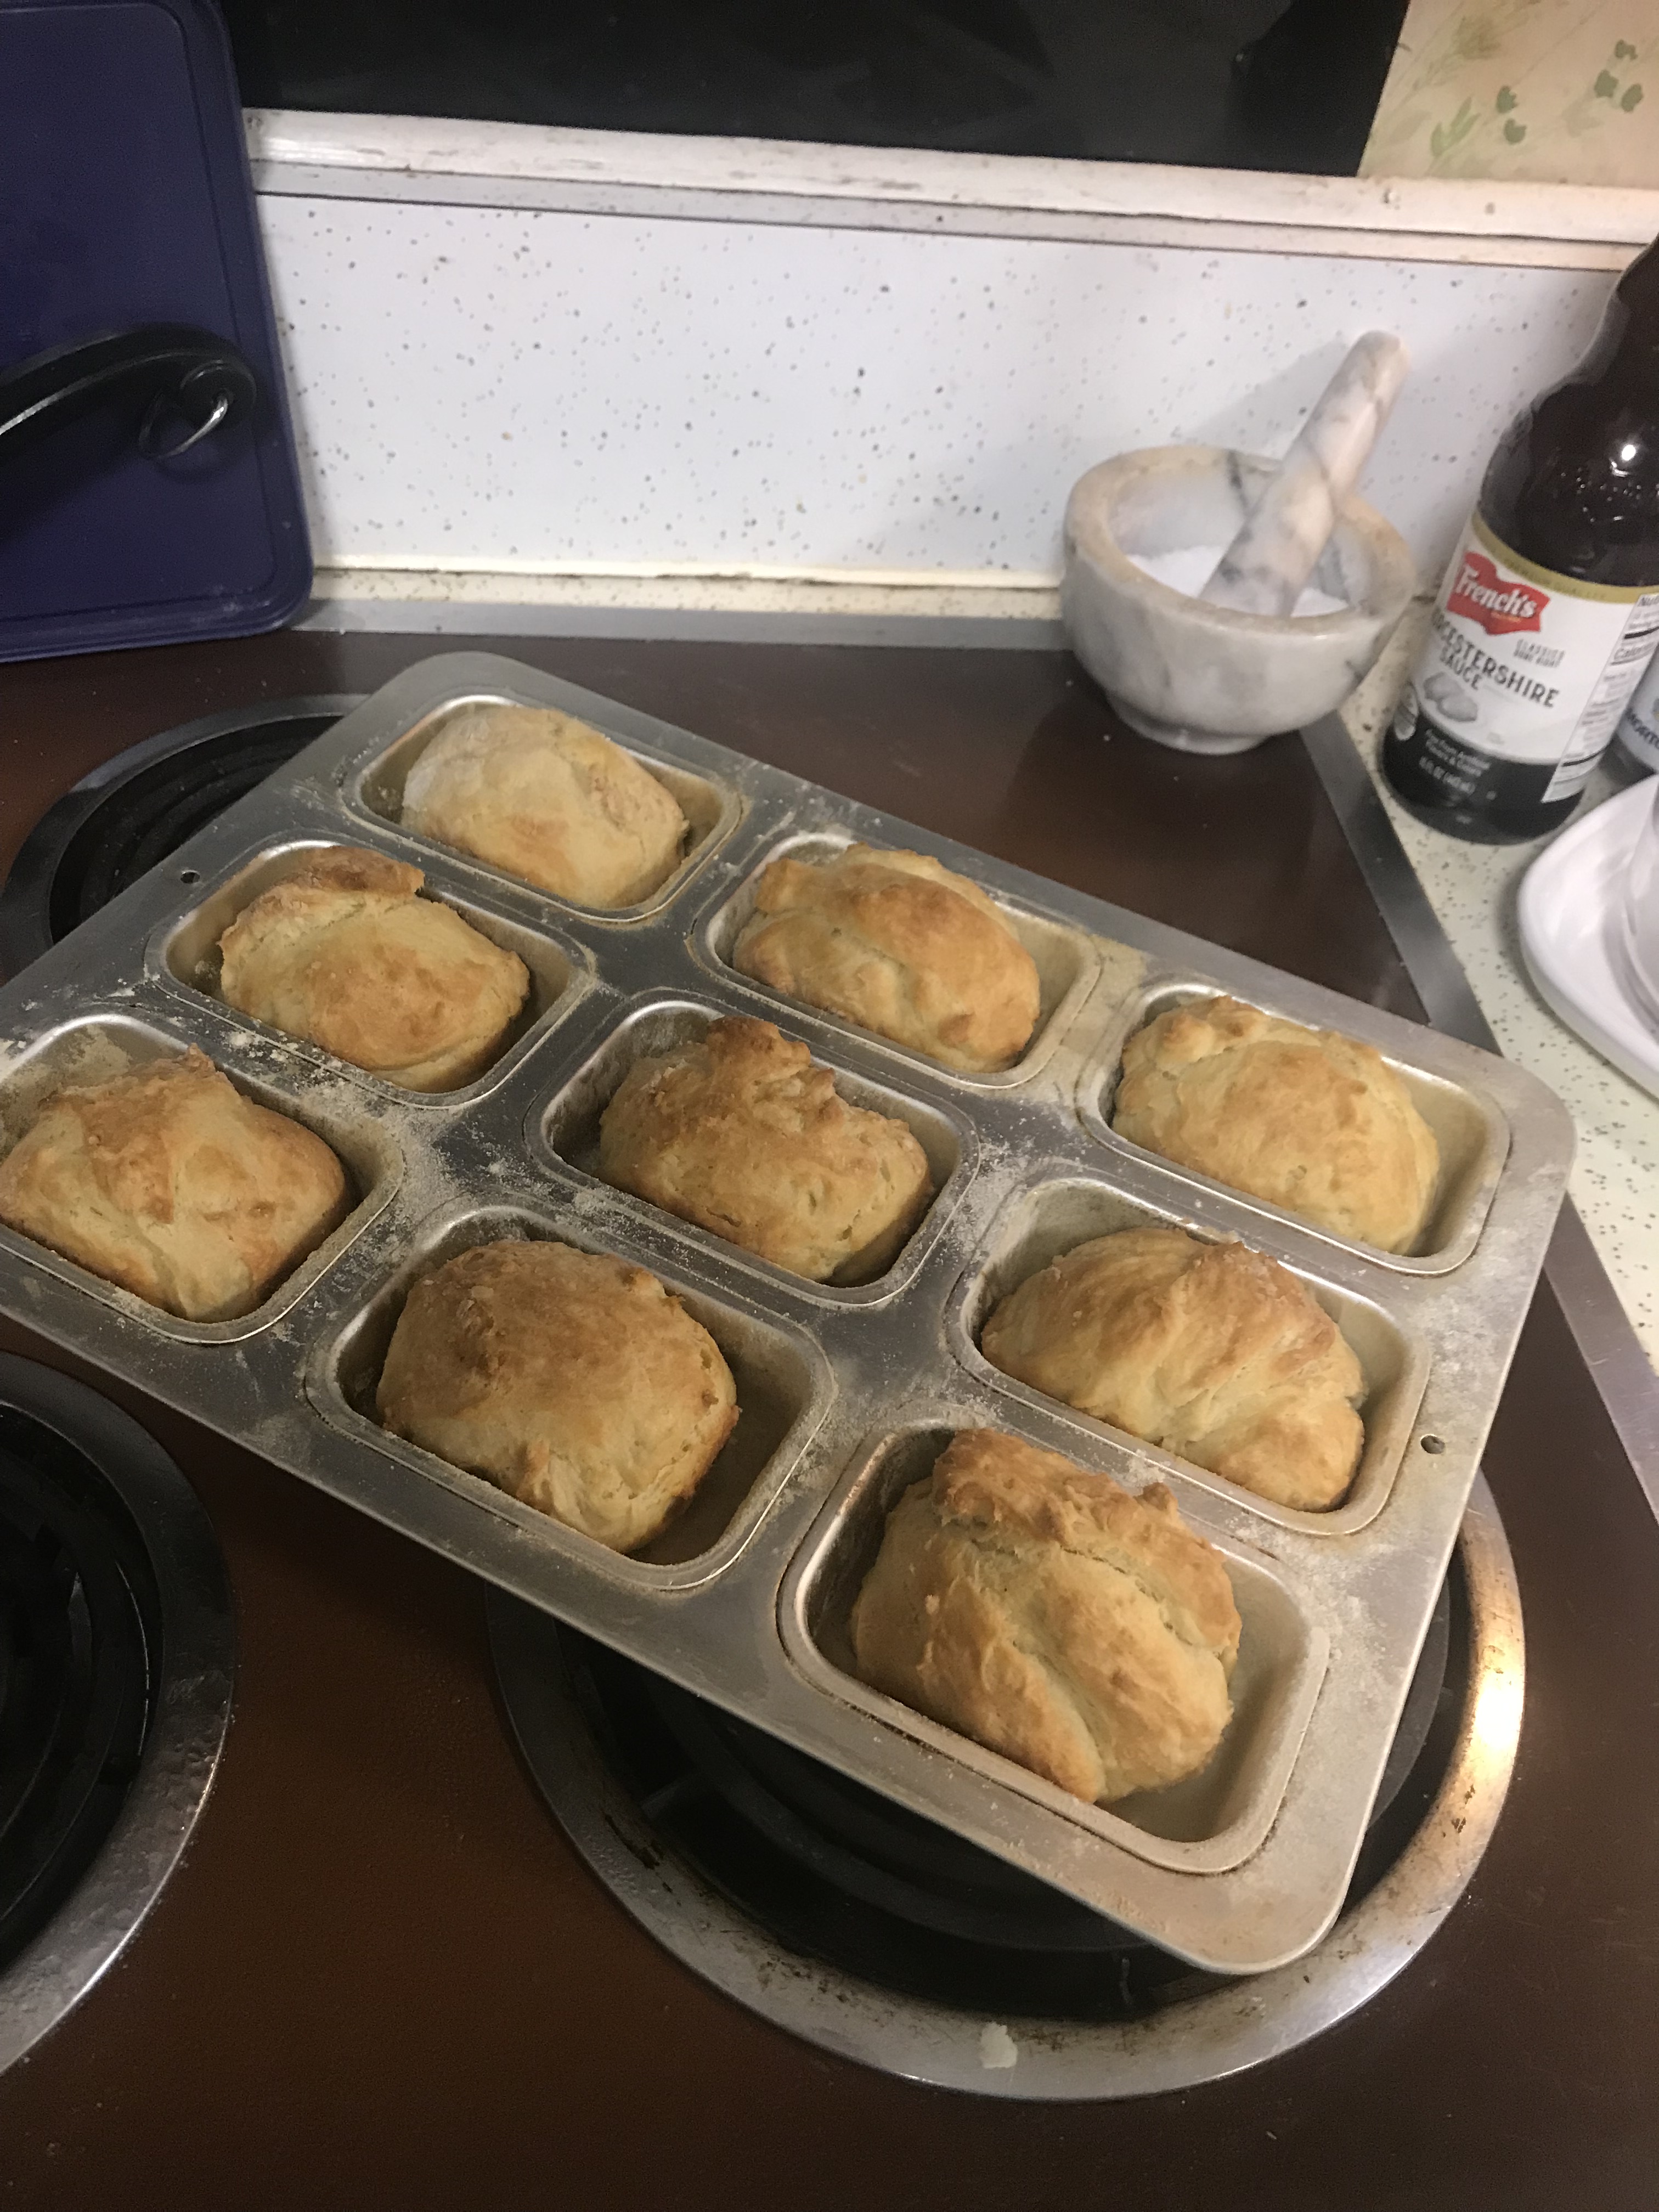
Overall, I am very happy with how my little bread loafs turned out and when I took them to my Italian Cuisine class on Monday to share everyone said they were yummy! So, I definitely will be making these again and totally recommend you trying to make them at home!

A Picky Eater’s Food Review

Over the weekend I embarked on a new task in between lesson planning for my child development classes. I decided to try and make Cacimperio, or Cheese Fondue. I got the recipe from the cookbook “Science in the Kitchen and the Art of Eating Well” by Pellegrino Artusi, and it was recipe number 247. This recipe called for 400 grams (about 14 oz) of rindless Fontina Cheese, 80 grams (about 2-⅔ oz) of butter, 4 Egg Yolks, and Milk, as much as needed (enough to cover the cubes of cheese).


First, I was instructed to cut up the fontina cheese into small cubes. Fontina is a relatively soft cheese so this step wasn’t hard to do.
Then, I had to place the cubes of cheese in a container and pour milk over them until they were covered.
Once I covered all the cheese, I had to let the cheese soak in the milk for two hours!

While the cheese soaked in the milk, I melted the butter in a crock pot (the cookbook suggests a saucepan, though).

After the butter melted and the cheese soaked for 2 hours, I then put the cheese into the crock pot with only 2 tablespoons of the milk it was sitting in.
After a little while on high, it began to melt and was kinda stringy.
The next step was to crack the 4 eggs and separate the yolks from the whites!
After doing so, I mixed the egg yolks together and added a little into the cheese mixture (on low heat) at a time.
I continued to mix in the egg yolks a little at a time until they were fully incorporated.
After the egg was incorporated I let it sit on low for about 30 more minutes. It then became even more stringy and had that nice “cheese pull” effect!
And Tah Dah! The fondue making experience was over!

Once it was finished, I decided I should taste it before taking it into my Italian Cuisine class the next day, and this is where the picky eater in me had some issues. Like any amateur cook, I didn’t research the ingredients I was using- I just saw the recipe, said “oooh fondue,” bought the ingredients listed and went for it! Only to learn after making it that fontina cheese when melted gives off an earthy- mushroom like taste, which I do not like at all! However, even though I did not enjoy it, I took it to class the next day and a lot of the people in the class expressed that they liked the taste and overall enjoyed this dish. So with that said, It shows that everyone’s taste buds are different, and just because I didn’t like this earthy tasting fondue doesn’t mean someone else will.

Little Last Minute Information on this recipe:

This isn’t the most ideal recipe to refrigerate and re-heat for the next day, because as seen in this picture- the texture changes drastically! However, this is how I served it and people said they liked it so I guess the re-heating affects the texture (due to the fats separating) more so than the taste!